Considering a roof insurance claim? Learn if filing a claim with a 2% deductible in Fort Worth, Texas, is the right move for you and your home.
Roof Insurance Claim: Should You File with 2% Deductible?
Should You File A Roof Claim With A 2% Deductible in Fort Worth Texas?
Key Highlights
- Understanding your 2% deductible is crucial before filing a roof claim.
- Your homeowners insurance may cover your roof at either actual cash value or replacement cost.
- A professional inspection from a roofing contractor before filing can save you time and money.
- Properly documenting all damage is key to a successful home insurance claim.
- Knowing when to file and when not to file depends on the extent of damage versus your deductible.
- Your insurance coverage and policy details determine your final payout.
Introduction
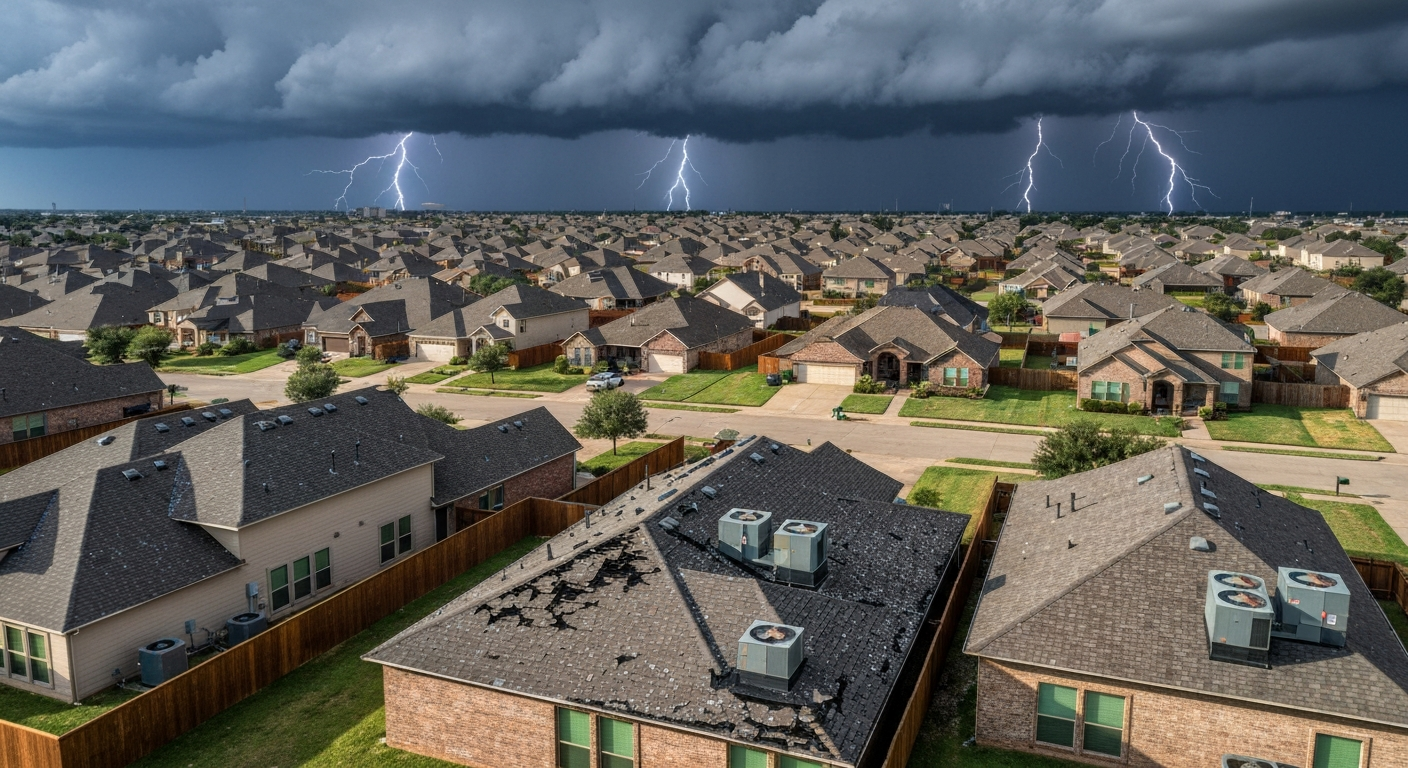
After a big hailstorm in Fort Worth, looking at your roof can be stressful. You know you have homeowners insurance, but dealing with roof damage and a high deductible can feel overwhelming. Should you even start the insurance claim process? This guide is here to help. We'll walk you through understanding your policy, figuring out if a claim makes sense with a 1% or 2% deductible, and what steps to take to get your roof fixed without the headache.
Understanding Roof Insurance Claims in Texas
Navigating roof insurance claims in Texas can seem complicated, especially after a hail storm. Your insurance company has specific rules outlined in your insurance policies for what they will and won't cover. Understanding your roof insurance coverage is the first step to a smooth claims process.
When you file a claim, the insurance company sends out insurance adjusters to assess the damage. Your policy coverage will determine how much they agree to pay. Knowing what your policy says about hail damage helps you prepare for this process and ensures you get a fair assessment.
How Roof Insurance Works for Hail and Storm Damage
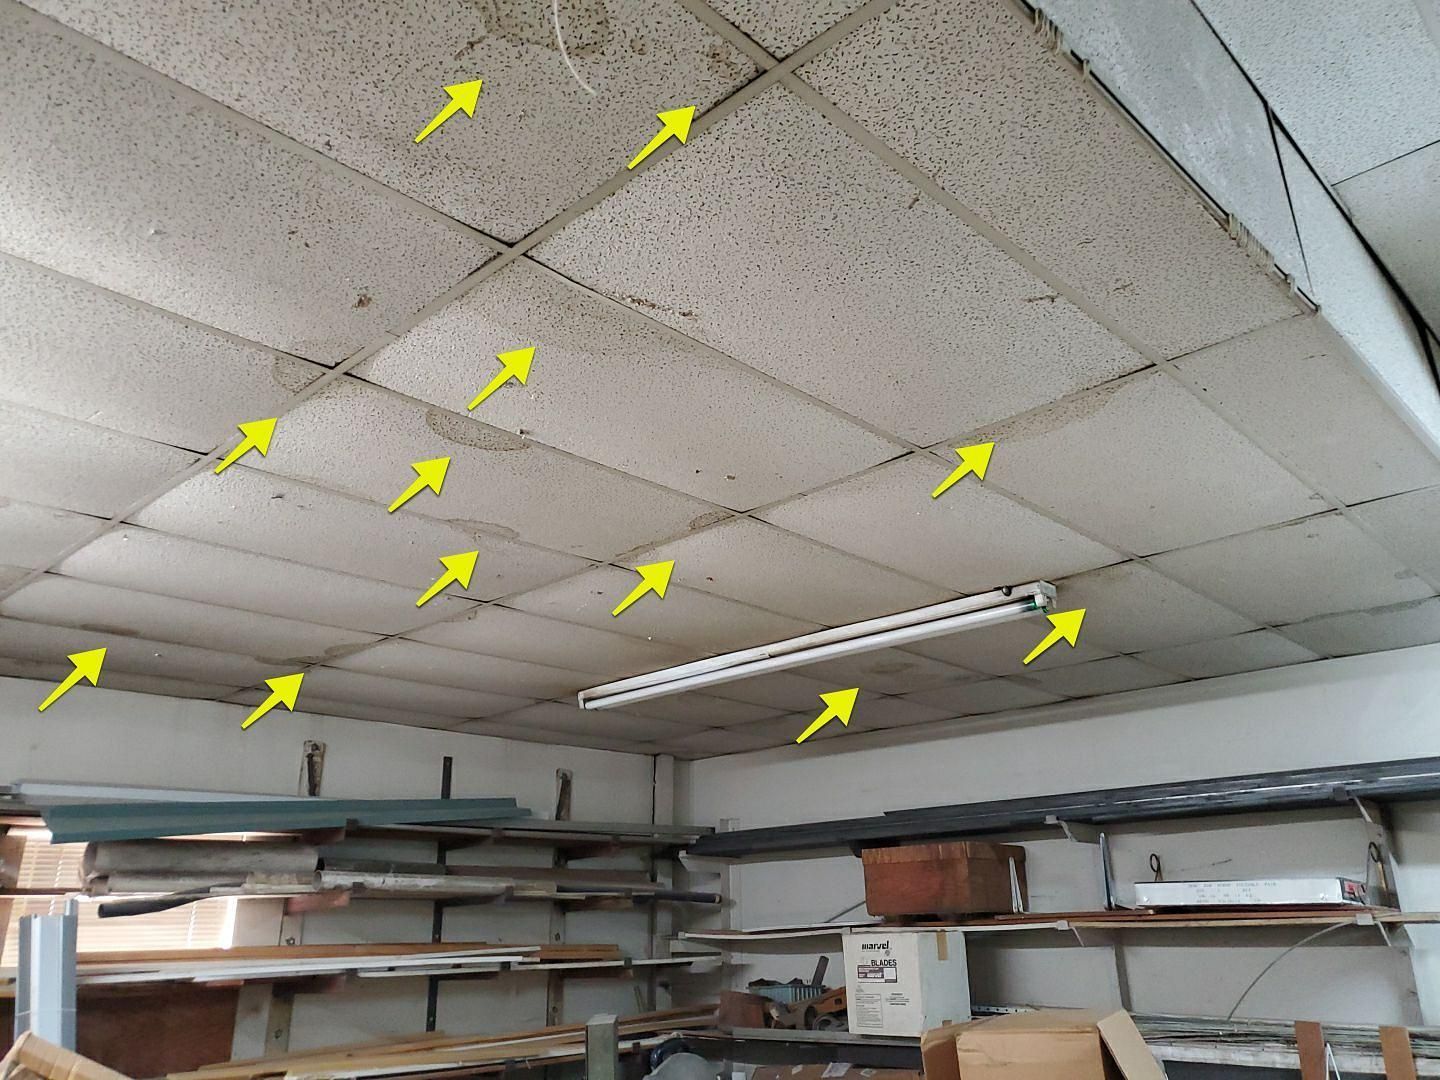
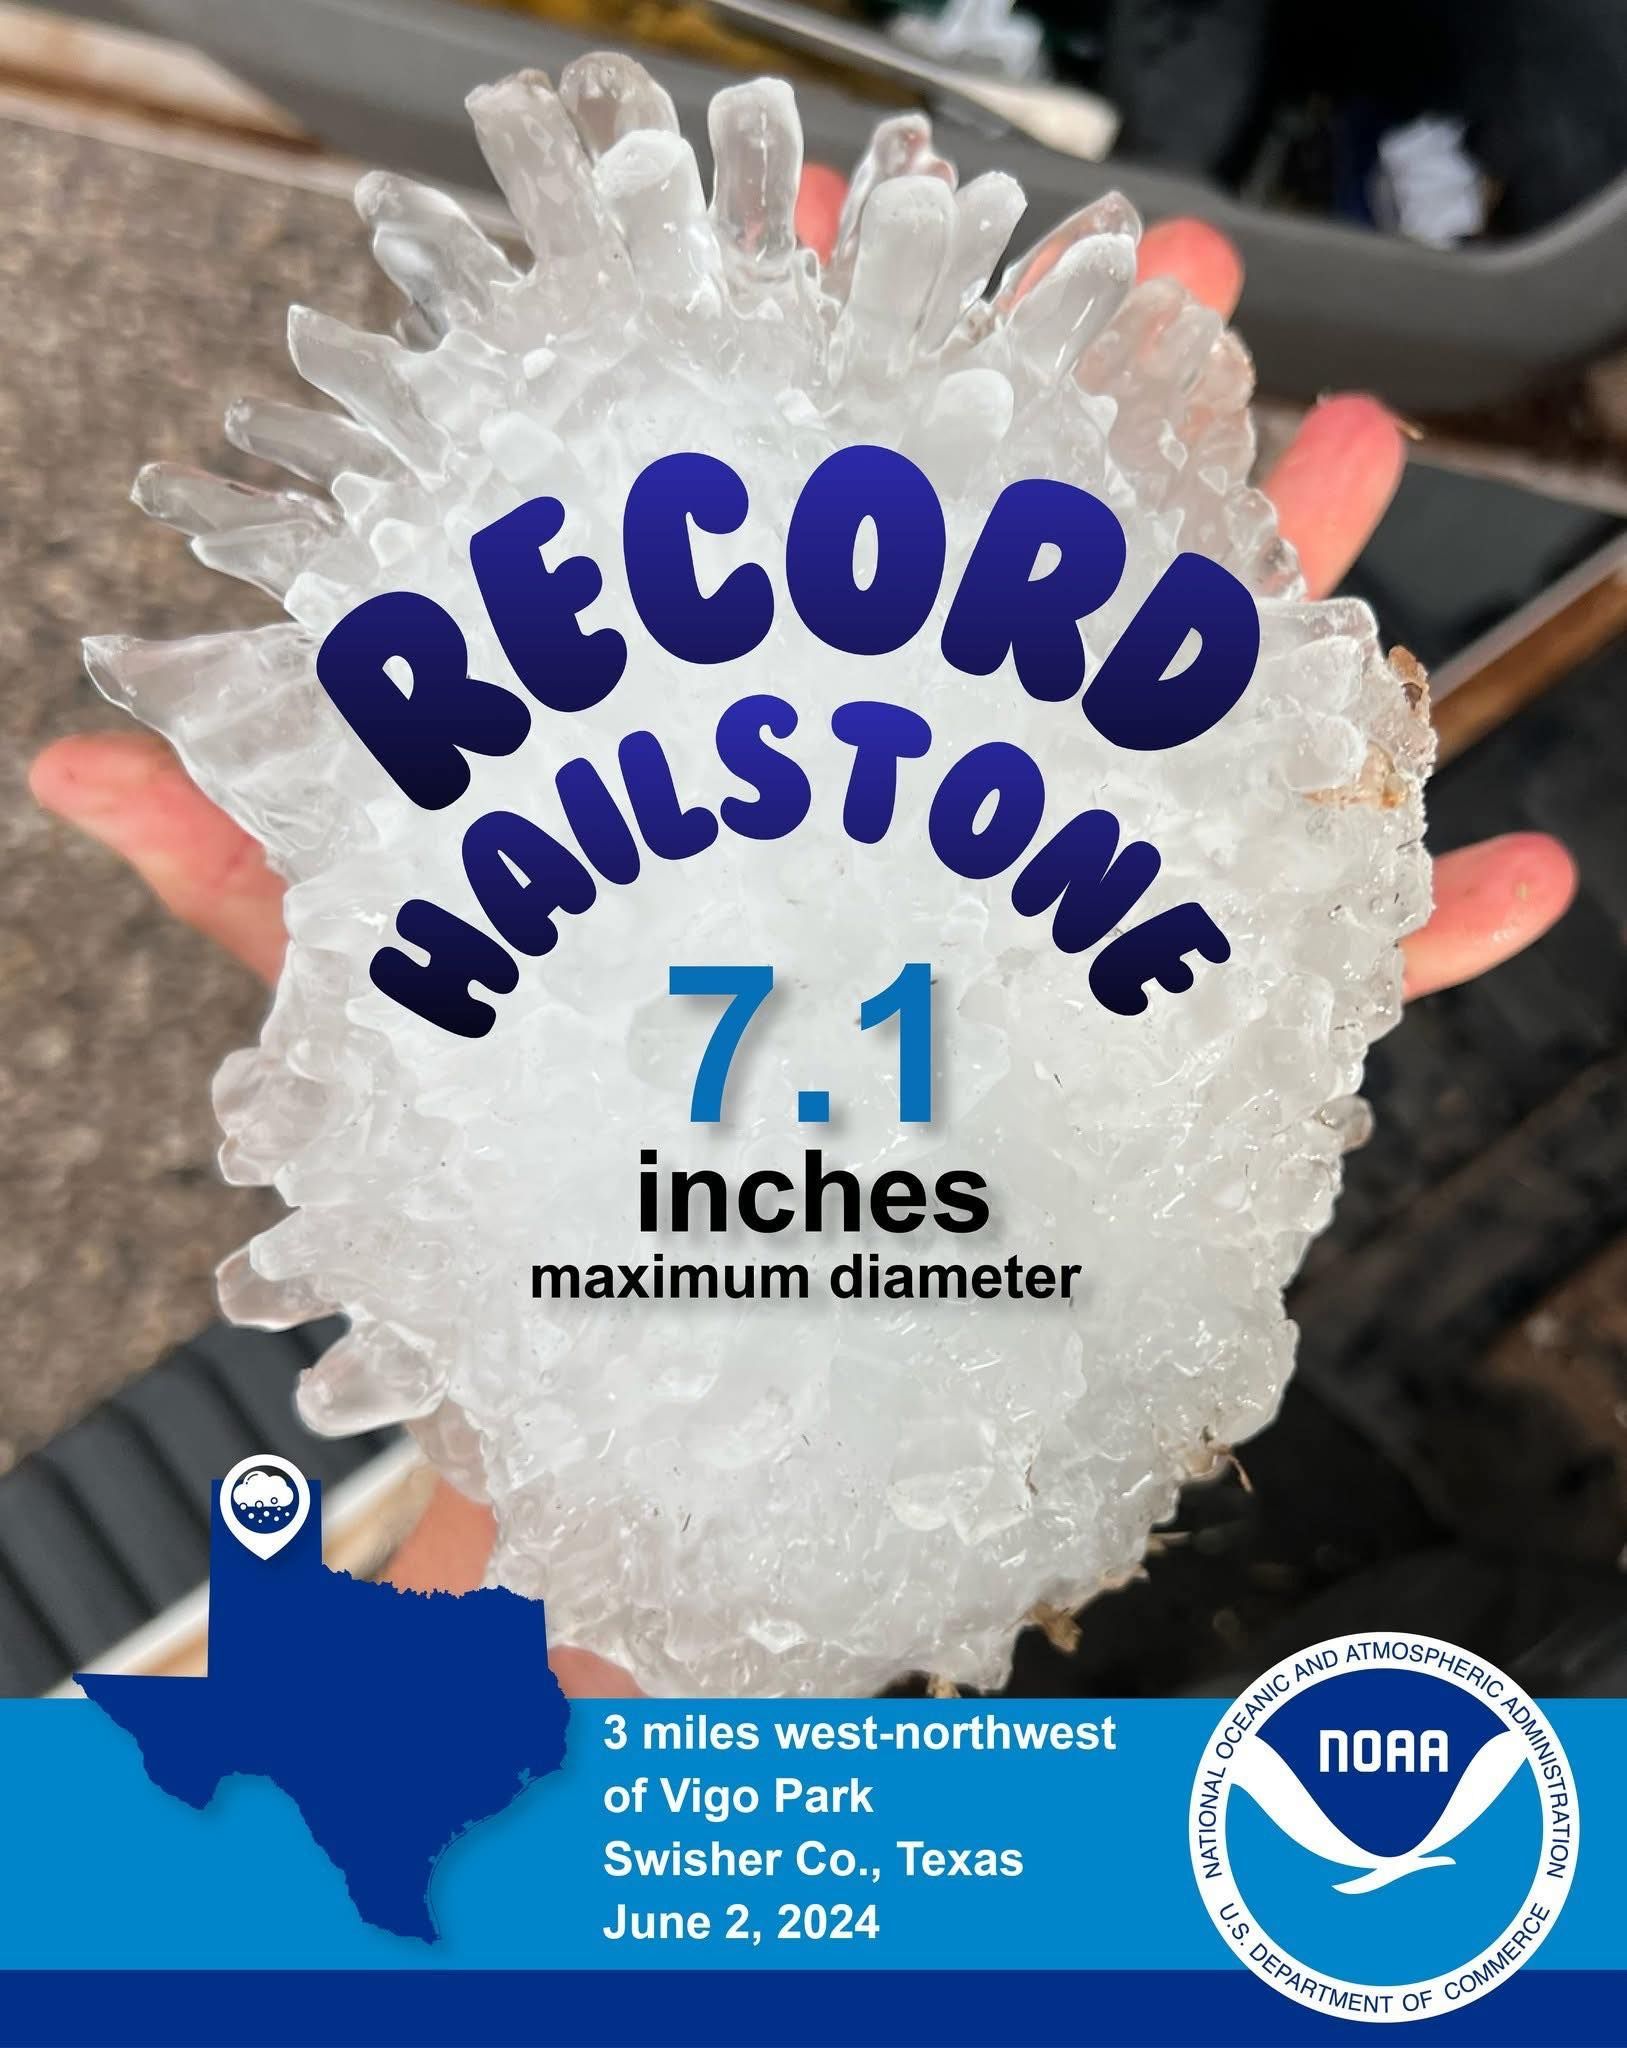
Your home insurance policy includes dwelling coverage, which typically protects your roof from sudden damage caused by events like a wind or hail storm. These events are known as a "covered peril." However, this insurance coverage doesn't apply to general wear and tear or maintenance issues. If a leak is caused by a storm, it's usually covered, but a leak from an old, poorly maintained roof might not be.
The age of your roof plays a significant role in your coverage. Insurers are often warier of older roofs because they are more prone to damage. As a result, your insurance company might limit the type of coverage available for roof ages over 15 or 20 years, or they might charge higher premiums.
It's important to know the storm date when you file a claim. Your insurer will use this information to verify that the damage occurred during a covered event. Always check your policy to see exactly what is included in your roof coverage.
What Is a Texas Roof Deductible and How Does It Affect You?
A deductible is the amount of money you have to pay out of pocket before your insurance carrier starts to pay for repairs. In Texas, many homeowners have a separate, higher deductible for wind and hail damage. This is often a percentage of your home's insured value, like 1% or 2%, instead of a flat dollar amount.
This percentage-based deductible can make a big difference in your out-of-pocket costs. For example, if your home is insured for $400,000, a 2% deductible means you are responsible for the first $8,000 of the repair costs. This financial protection model means you share more of the risk with the insurer.
Understanding your deductible is key to deciding if filing a claim is worth it. Here’s a quick comparison of how it works:
Insured Home Value
1% Deductible
2% Deductible
$300,000
$3,000
$6,000
$400,000
$4,000
$8,000
$500,000
$5,000
$10,000
This table shows how the type of coverage you have directly impacts your upfront cost.
Key Factors to Consider Before Filing a Roof Claim
Before you pick up the phone to call your insurance provider, it’s important to weigh a few key factors. Your insurance policies have specific terms, and filing a claim isn't always the best move, especially with a high deductible. You need to consider the roof's age and the true extent of the damage.
A small amount of damage might cost less to fix than your deductible. In that case, filing a claim wouldn't provide any financial benefit. Let's look at how to evaluate the damage and decide when filing makes financial sense.
Evaluating the Extent of Hail or Storm Damage
First, you need to assess the storm damage to your roof. Look for visible signs of damage from a safe place on the ground. Binoculars can be very helpful for this. You want to identify issues that insurance adjusters will look for later.
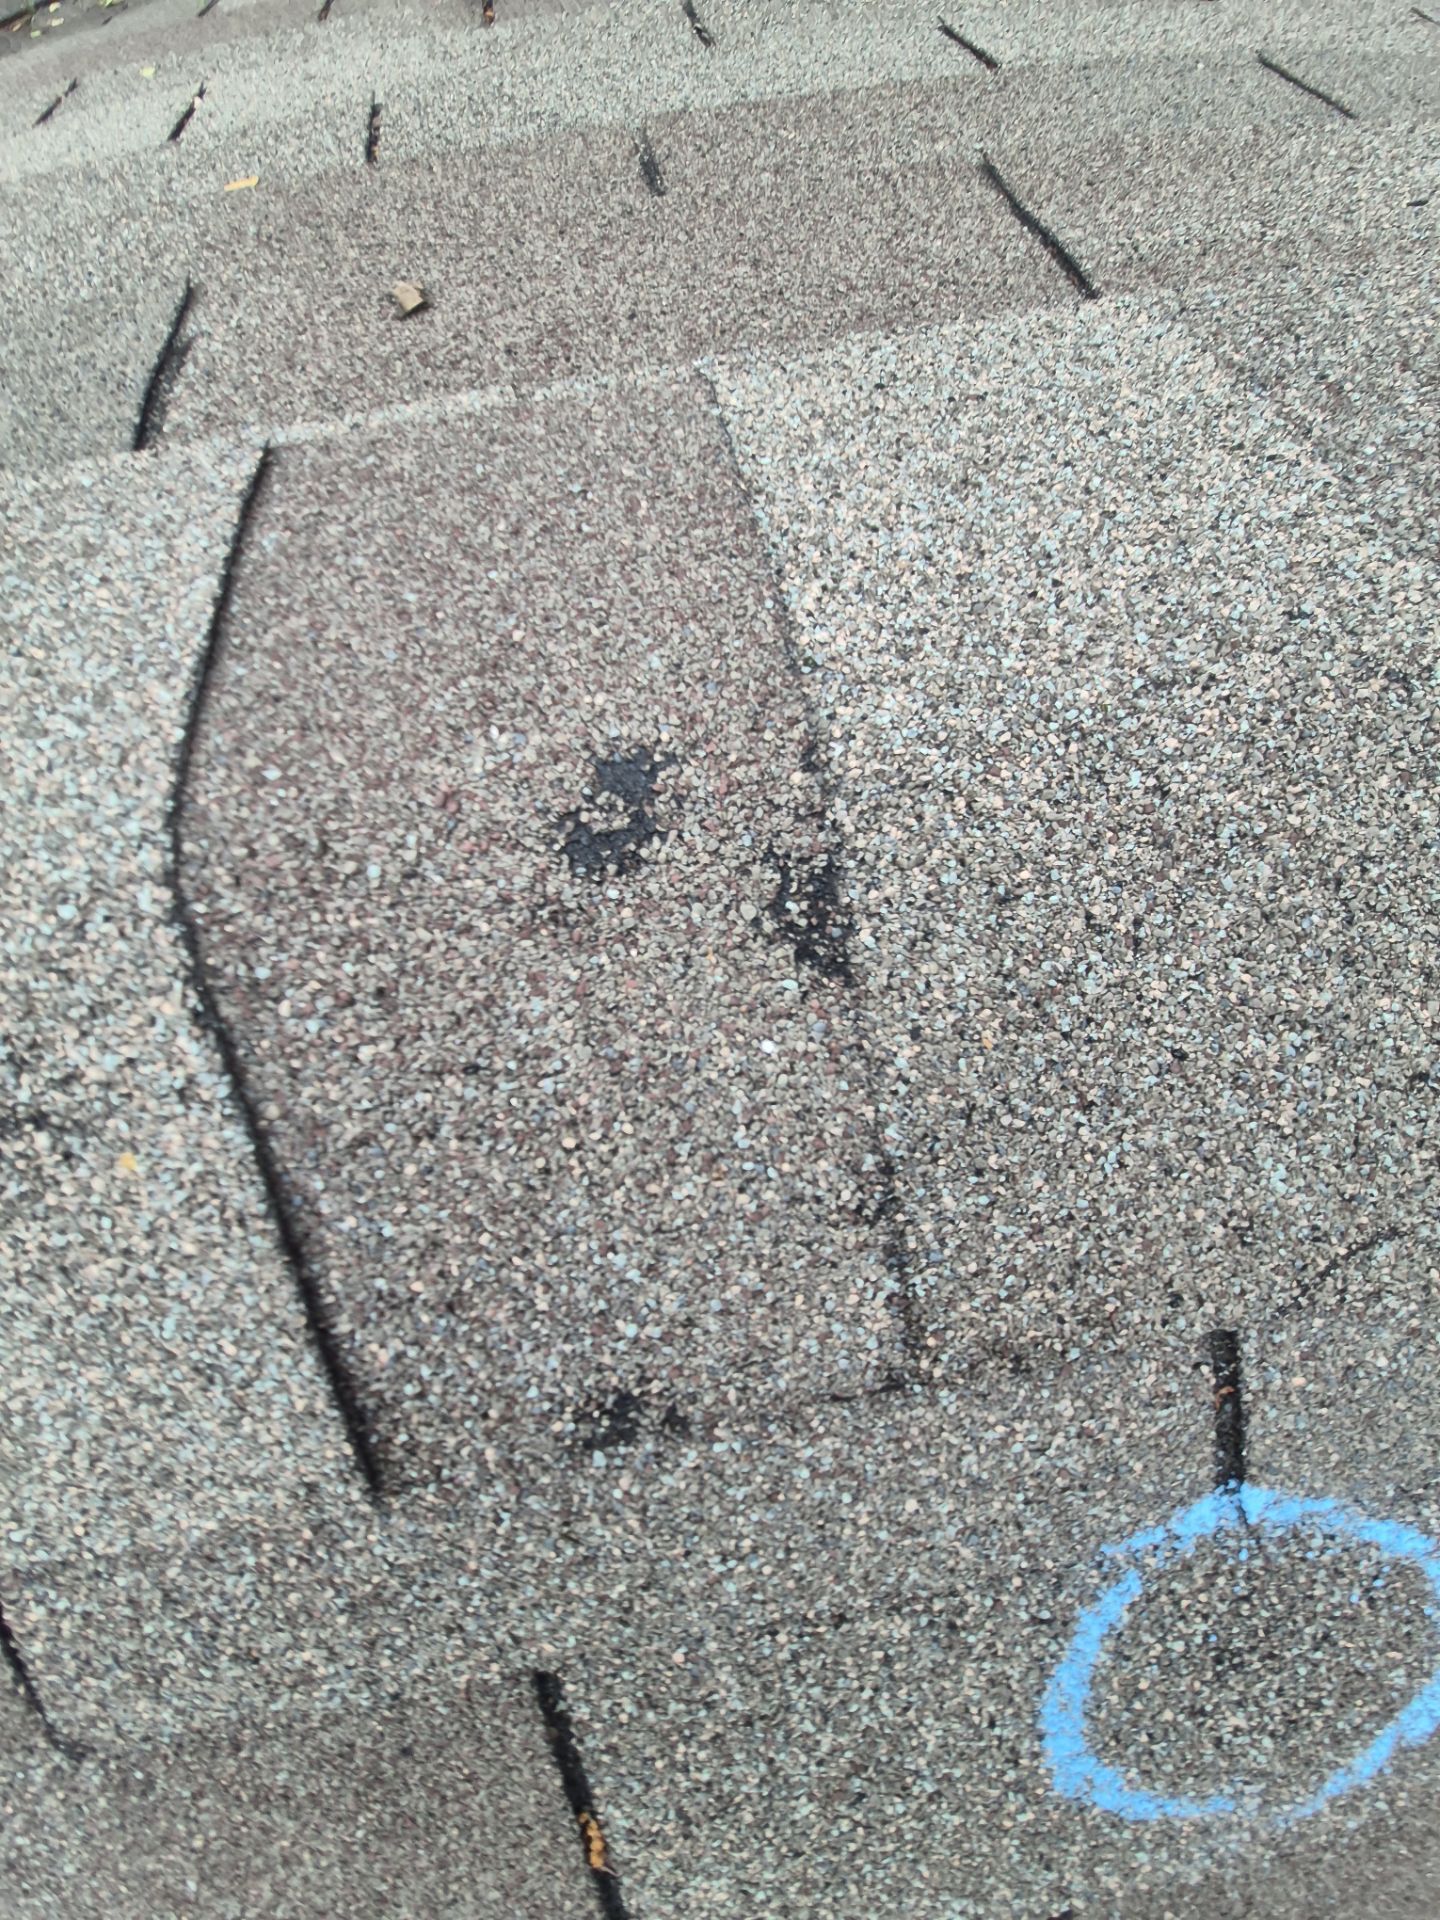
Some common signs of hail damage include:
- Dents on gutters, roof vents, and flashing
- Cracks or missing shingles
- Significant granule loss, which looks like dark spots on your shingles
- Bruises or soft spots on the shingles
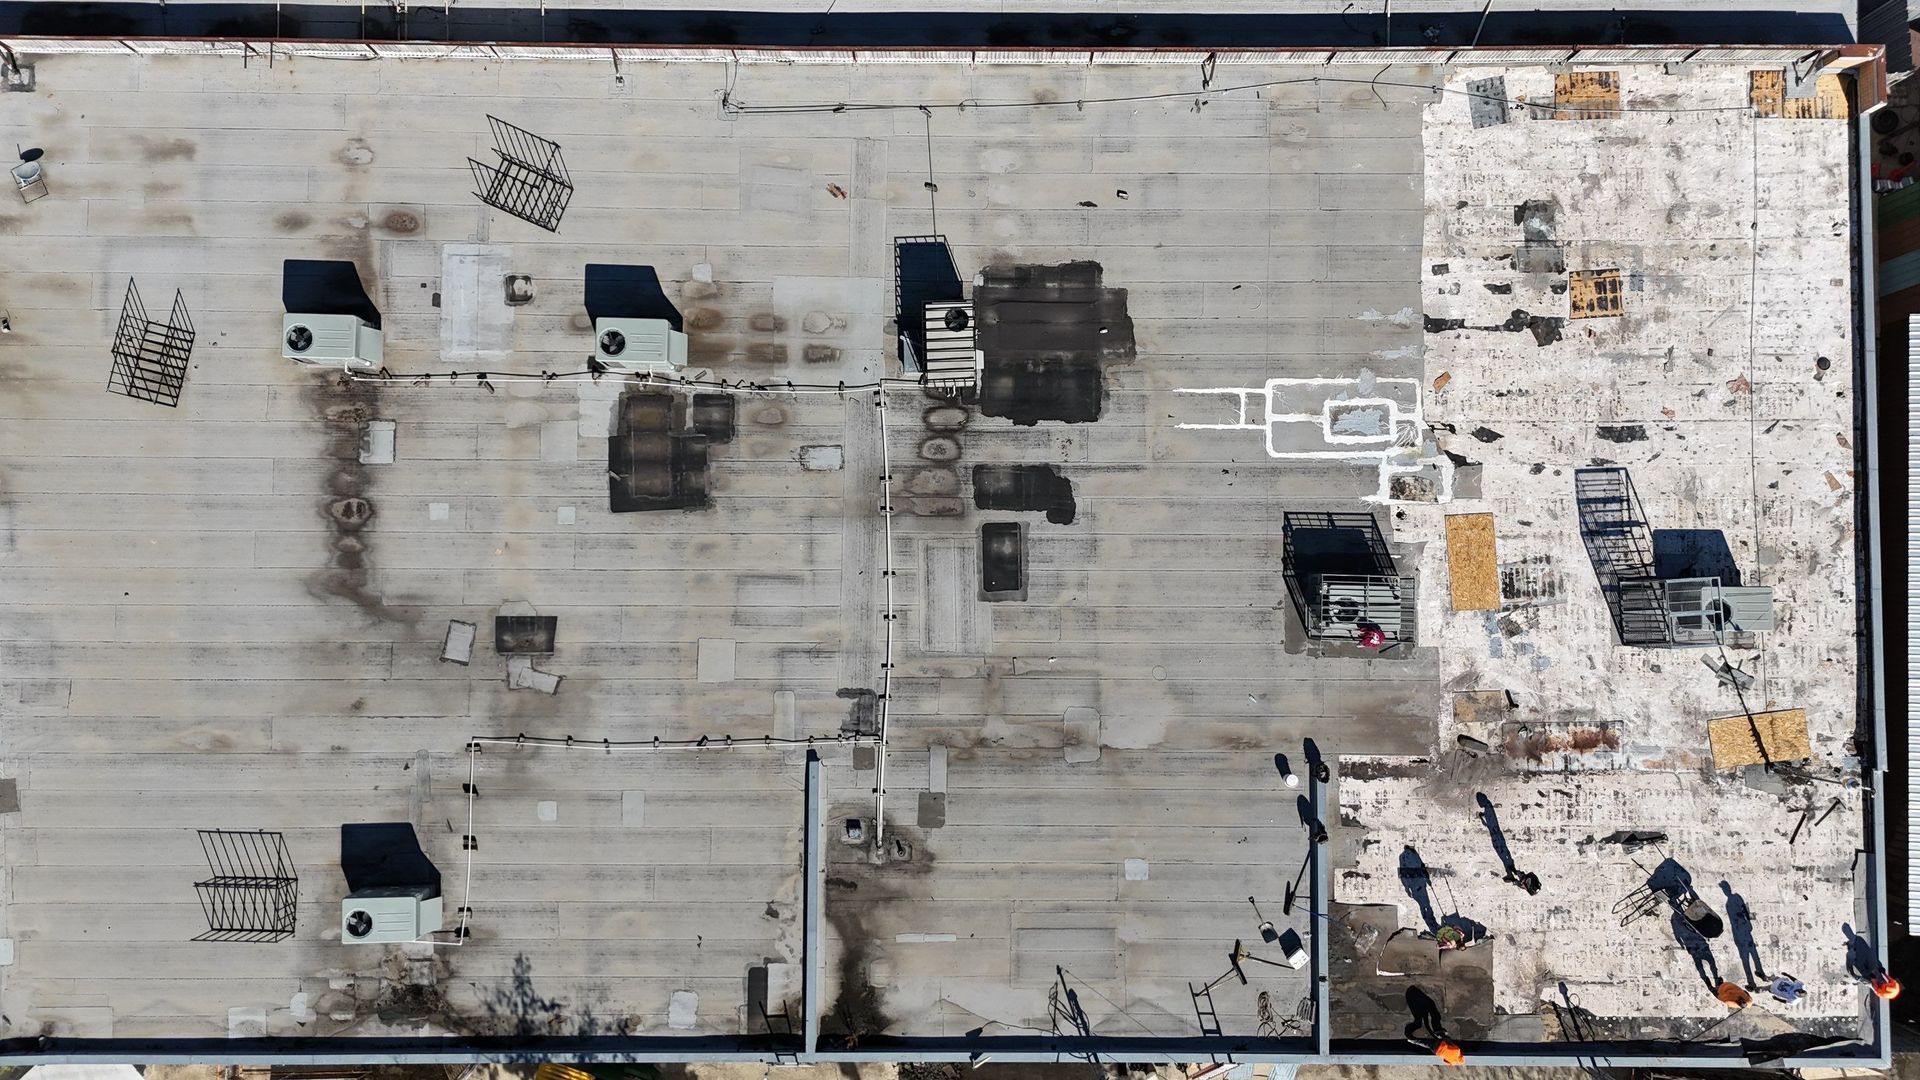
Having a professional roofer create a detailed inspection report is the best way to understand the full extent of the damage. They can spot issues you might miss, like hidden damage that could lead to leaks later. This report is a critical document to have before you decide whether to file a claim, as it gives you a clear idea of the potential repair costs.
When Does Filing a Hail Damage Roof Claim Make Sense?
Filing a roof claim makes sense when the cost of repairs is significantly more than your deductible. If the repair estimate is $12,000 and your deductible is $8,000, your insurance company would cover $4,000. In this case, filing is a good idea. However, if the repair cost is only slightly above your deductible, you might want to think twice, as filing a claim can sometimes lead to higher premiums in the future.
Consider the type of coverage you have as well. If you have replacement cost coverage, your insurer will pay to replace your roof with similar materials at today's prices. This is often more beneficial than actual cash value coverage, which only pays for the depreciated value of your old roof.
Ultimately, you file a claim when the damage is severe enough that not fixing it could lead to further damage, like leaks and structural issues. If a covered event has compromised the integrity of your roof, using your insurance is exactly what it's for.
The Beginner’s Guide to Filing a Roof Claim with a 2% Deductible
Filing a roof claim with a 2% separate deductible doesn’t have to be intimidating. The key is to be prepared. Before you even contact your insurance agent, you need to have a clear understanding of the damage and the costs involved. This is especially true when your policy has actual cash value coverage, as your payout will be lower.
Gathering all the necessary information, like the storm date and professional estimates, will make the process much smoother. Here’s what you need to get started and the common mistakes you should avoid along the way.
What You’ll Need to Get Started for Your Roof Claim Process
To kick off your claim, you need solid documentation. This is your proof to the insurance provider that the storm damage is legitimate and requires repair. Don't rush this step; being thorough now will save you headaches later.
Here is a checklist of what you should gather before contacting your insurer:
- Your insurance policy number and contact information.
- The date and approximate time of the storm.
- Photos and videos showing the damage from different angles.
- A detailed inspection report from a trusted roofing contractor.
Having this information ready makes the initial call to your insurer much more effective. The inspection report is especially important because it provides a professional assessment of the damage and an estimate for repairs. This gives you a baseline to compare against the adjuster's findings and helps you advocate for a fair settlement.
Common Mistakes to Avoid When Filing a Roof Claim Deductible
When filing a claim, certain missteps can jeopardize your financial protection. Insurance policies are specific, and not following the rules can lead to a denial. One of the biggest mistakes is not understanding your policy coverage before you file.
Here are some common errors to steer clear of:
- Waiting too long to report the damage.
- Not documenting the damage thoroughly.
- Accepting the first settlement offer without reviewing it.
- Hiring an untrustworthy contractor who rushes the job.
Another frequent reason for denial is pre-existing damage or a roof in poor condition. Insurance is for sudden, accidental damage, not for fixing a roof that was already failing. Before you even talk to your insurance agent, getting a professional opinion can help you determine if the damage is clearly from the storm, which strengthens your claim.
Step-by-Step Guide to the Roof Claim Process
The insurance claim process can be broken down into a series of manageable steps. Following them in order will keep you organized and in control. From getting an initial inspection to meeting with the adjuster, each stage is important for a successful outcome.
You'll start by having a professional roofing contractor assess the damage and provide an inspection report. Then, you'll document everything, contact your insurer with the storm date, and prepare for the adjuster visit. Let's walk through each step in more detail.
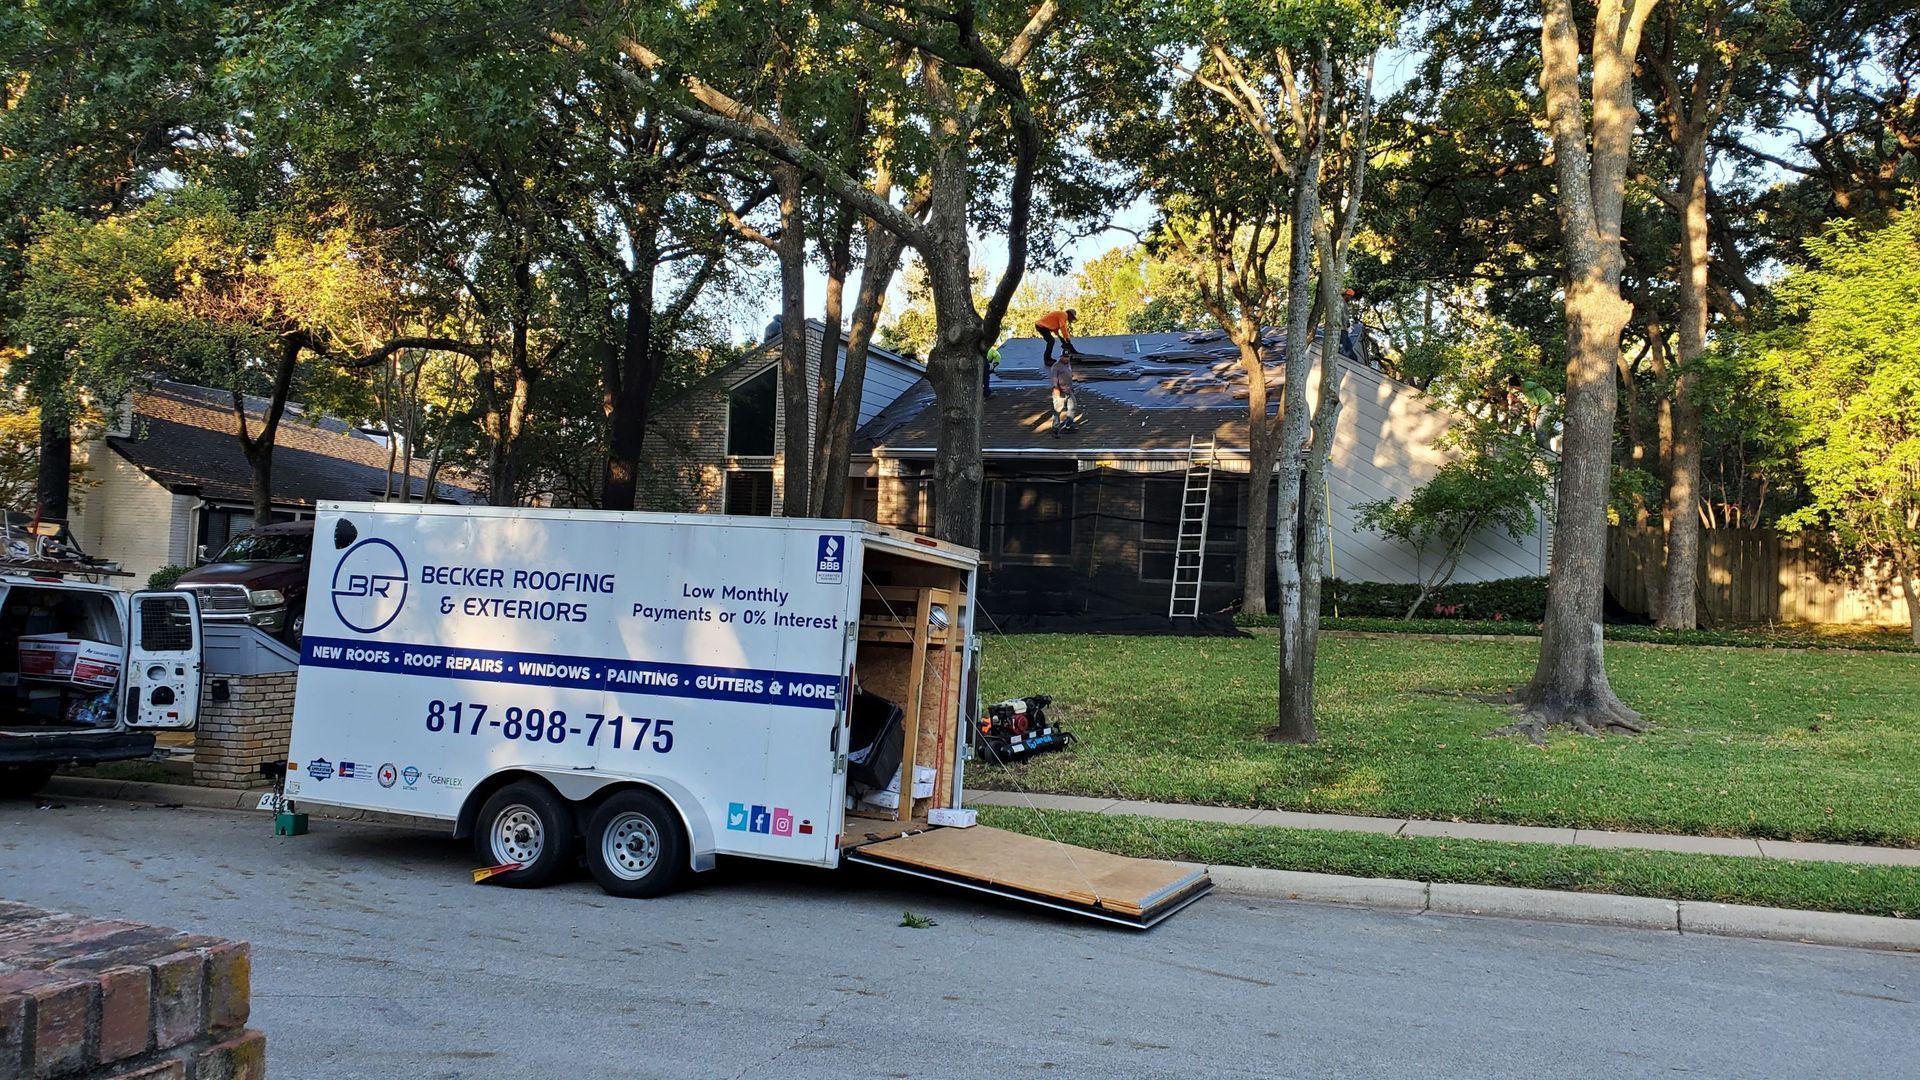
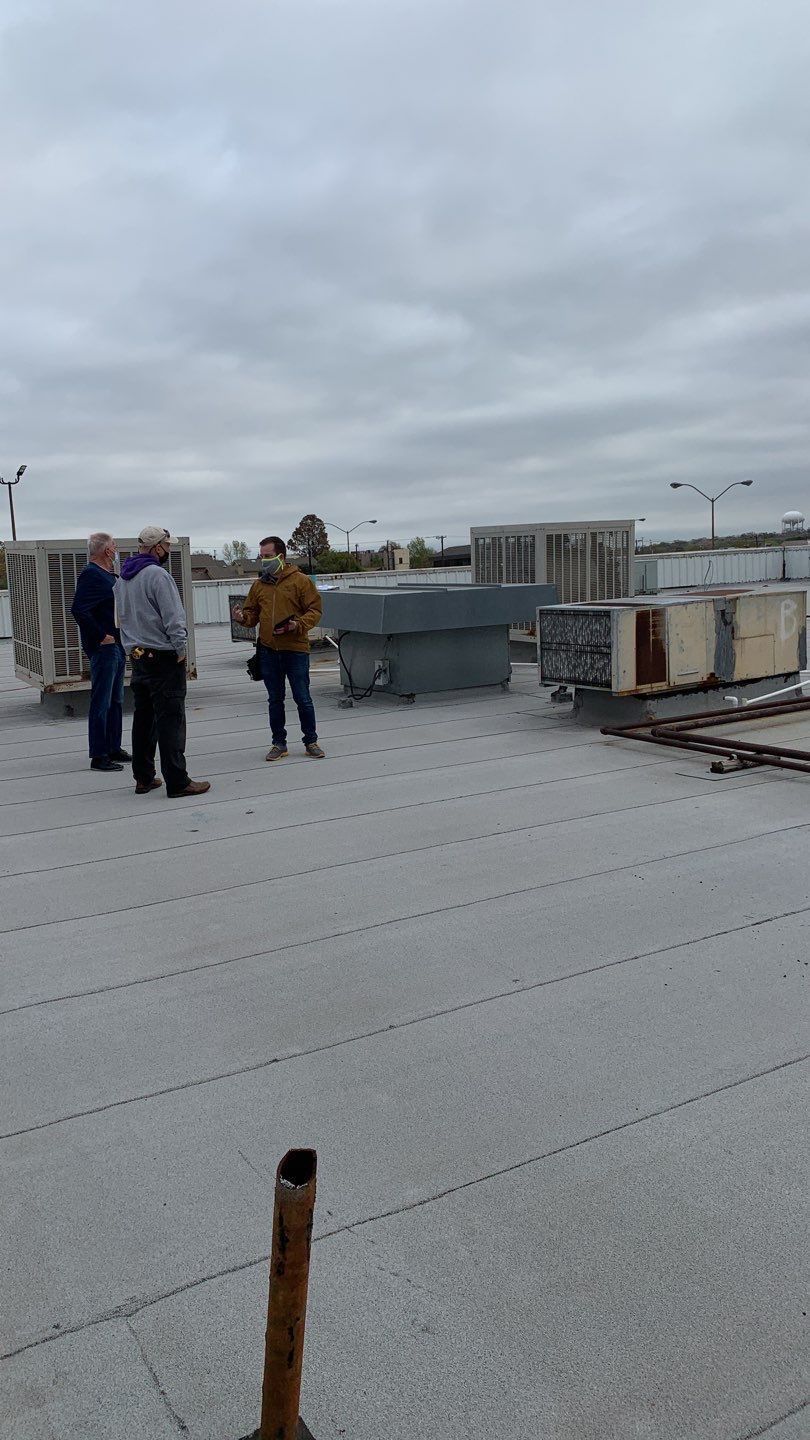
Step 1: Schedule a Professional Insurance Roof Inspection
Your first move after a storm should be to schedule a professional roof inspection. Many reputable companies, like Becker Roofing and Exteriors, offer a free roof inspection to assess the damage. This is a crucial step because a professional roofer knows exactly what to look for and can identify damage that isn't obvious from the ground.
This inspection accomplishes two things. First, it ensures your home safety by identifying any urgent issues that could lead to leaks or other problems. Second, it provides you with an expert opinion on the extent of the roof damage. This professional assessment gives you the information you need to decide if filing a claim with your insurance company is the right choice.
An inspector's report is a powerful tool. When the insurance adjusters arrive, you’ll already have a detailed breakdown of the damage, which can help ensure nothing is overlooked. It’s the best way to start the claims process on solid footing.
Step 2: Collect and Organize Damage Documentation
Once you have the professional inspection report, it's time to consolidate all your documentation. Organization is key to presenting a strong and clear case for your claim. Your goal is to create a complete file that details the full extent of the damage.
Gather the following items and keep them in one place:
- The detailed inspection report from your roofer.
- Clear, dated photos and videos of all visible signs of storm damage.
- A copy of your roof coverage section from your insurance policy.
- Any receipts for temporary repairs you made to prevent further damage.
This collection of evidence paints a comprehensive picture for your insurer. It shows you've done your due diligence and helps justify the need for the repairs outlined in the inspection report. Having everything organized will make conversations with your insurance provider much more straightforward and productive.
Step 3: Contact Your Insurance Provider and Start the Claim
With all your documentation in hand, you are now ready to contact your insurance carrier. Call the claims department of your insurance provider to officially start the insurance claim process. When you call, have your policy number ready to speed things up.
Explain that your home was damaged in a recent storm and you wish to file a claim. Provide them with the date of the storm and a brief description of the damage. The representative will give you a claim number—write this down and keep it somewhere safe, as you will need it for all future communications.
This is the formal start of your claim. Your insurer will outline the next steps, which typically involve scheduling a visit from one of their adjusters. Be prepared to share your documentation and inspection report. Remember that homeowners insurance policies require you to report damage in a timely manner, so don't delay this step.
Step 4: Meet with the Adjuster and Review the Actual Cash Value Roof Estimate
The adjuster visit is a critical point in your claim. It's best if you or your roofing contractor can be present to meet with the adjuster. This allows you to point out the specific damage you’ve documented and ensure they don't miss anything. You can also provide them with your contractor's inspection report for comparison.
After the inspection, the adjuster will create a report and an estimate for the repairs. It’s important to understand your roof insurance coverage here. If your policy provides actual cash value coverage, the estimate will factor depreciation, meaning the payout will be for the current value of your aged roof, not the cost of a new one.
Review the adjuster’s estimate carefully. Compare it to your contractor's estimate. If there are major differences, ask the adjuster to explain their reasoning. Insurance policies can be complex, so don't be afraid to ask questions to understand how they arrived at their figures.
Step 5: Choose a Roofing Contractor and Complete Repairs
Once your claim is approved, you can choose a roofing contractor to perform the work. You are not required to use a contractor recommended by your insurer. It’s your home, so you have the right to select a company you trust. Look for a licensed and insured roofing contractor with a strong reputation in your community.
The contractor will perform the roof repair or full roof replacement as outlined in the approved claim. A good contractor will not only replace the shingles but also inspect and replace any damaged metal components, flashing, and underlayment to ensure the job is done right.
Be wary of contractors who offer to waive your deductible, as this is illegal in Texas. After the work is complete, your contractor will provide a final invoice that you can submit to your insurance company for the final payment. Choosing a quality contractor ensures your roof is restored properly and protects you from issues related to poor maintenance or shoddy work in the future.
Conclusion
In conclusion, navigating the roof insurance claim process in Texas, especially with a 2% deductible, requires careful consideration and planning. Understanding how deductibles work, assessing the extent of damage, and gathering the right documentation are crucial steps to ensure you make an informed decision. A professional inspection can significantly aid in avoiding costly mistakes, providing you with clarity on whether filing a claim is beneficial for you. Remember, your roof is an essential part of your home, and taking the necessary steps can lead to a successful claims process. If you have questions or need assistance, don't hesitate to reach out for help or get a free consultation to guide you through this process.
Frequently Asked Questions
How does my roof claim deductible work in Texas for hail damage?
In Texas, your hail damage deductible is often a percentage (like 1% or 2%) of your home's total insured value. You must pay this amount out of pocket for roof damage repairs before your insurance company contributes. Understanding this is a key part of the insurance claim process.
What documents should I submit for a storm damage roof claim?
For a storm damage claim, submit photos and videos of all visible signs of roof damage, a professional inspection report, and any receipts for temporary repairs. You will also need to provide the storm date when you contact your homeowners insurance provider to open the claim.
How long does a typical roof claim process take in Texas?
The insurance claim process in Texas can take anywhere from a few weeks to several months. The timeline depends on your insurance provider's responsiveness, the adjuster visit schedule, the complexity of the damage, and your roofing contractor's availability. Staying organized helps speed up your home insurance claim.
What are common reasons a hail damage roof claim gets denied?
Claims are often denied if insurance policies don't cover the specific damage, or if the damage is from poor maintenance rather than accidental damage. A roof's advanced age can also lead to a denial. Limited roof coverage or not reporting the damage in time are other common reasons.