Ensure your home is safe with our essential roof inspection checklist. Discover key steps for a thorough roof inspection tailored for DFW homeowners!
Roof Inspection Checklist: Essential Tips for DFW Homes
Essential Roof Inspection Checklist for DFW Homeowners
Key Highlights
- After a storm, safely inspect your home from the ground for visible storm damage before calling a professional. Documenting damage to your asphalt shingles, gutters, and AC units is crucial for your insurance claim. For guidance, there are helpful photo guides available online that show what roof hail damage looks like, especially on asphalt shingles. These resources can make it easier to accurately identify and record storm damage for your insurance claim.
- Documenting damage to your asphalt shingles, gutters, and AC units is crucial for your insurance claim.
- Understanding what adjusters look for, like widespread damage, helps you prepare your claim. Even minor issues with roofing material can lead to a full roof replacement if ignored. Good photos of your house roof are your best evidence when filing for repairs or a roof replacement. If you need high-quality stock images of roof damage, websites like Shutterstock, Adobe Stock, and Getty Images offer a wide selection of professional photos that can help illustrate common problems for claims or presentations.
- Even minor issues with roofing material can lead to a full roof replacement if ignored.
- Good photos of your house roof are your best evidence when filing for repairs or a roof replacement.
- This checklist guides you through identifying damage and preparing for your claim.
Introduction
The wild weather in the Dallas-Fort Worth area can be tough on your home. After a storm with high winds and hail passes through, your first thought might be about your roof. Did the storm cause roof damage? Even small issues with your asphalt shingles can turn into big, expensive problems later. This guide provides a simple checklist to help you safely inspect your property, document any damage you find, and know when it’s time to call in the professionals. To help you identify potential problems, we also include examples of roof damage photos for different types of roofs, such as asphalt shingles, metal roofs, and tile roofing. These images can help you compare what you see on your own roof and better determine if repairs are needed.
Why Roof Inspections Matter After a DFW Storm
Checking your roof after a major storm is one of the most important things you can do as a homeowner. Hidden storm damage can lead to leaks, mold, and high roof repair costs down the line. Spotting the different types of roof damage early helps you protect your home's value and your family's safety.
A thorough inspection is also your first step toward a successful insurance claim. With clear evidence, you can prove the damage happened during a specific event. We'll explore how to protect your wallet and how good documentation can make your claim process much smoother.
Protecting Your Home from Storm Damage Roof Repair Costs
Severe weather in DFW can cause damage that isn't always obvious. You might not see a leak for months after a hailstorm. By then, what could have been a simple fix might turn into a major problem, leading to expensive repair costs or even a full roof replacement. Ignoring small signs of trouble is a gamble you don't want to take.
When you look at inspection photos, some common signs of roof damage include dark, bruised spots on shingles, visible cracks, or areas where the sandy granules have been knocked off. These issues weaken your roof’s ability to protect your home from the sun and rain, which speeds up aging and leads to leaks.
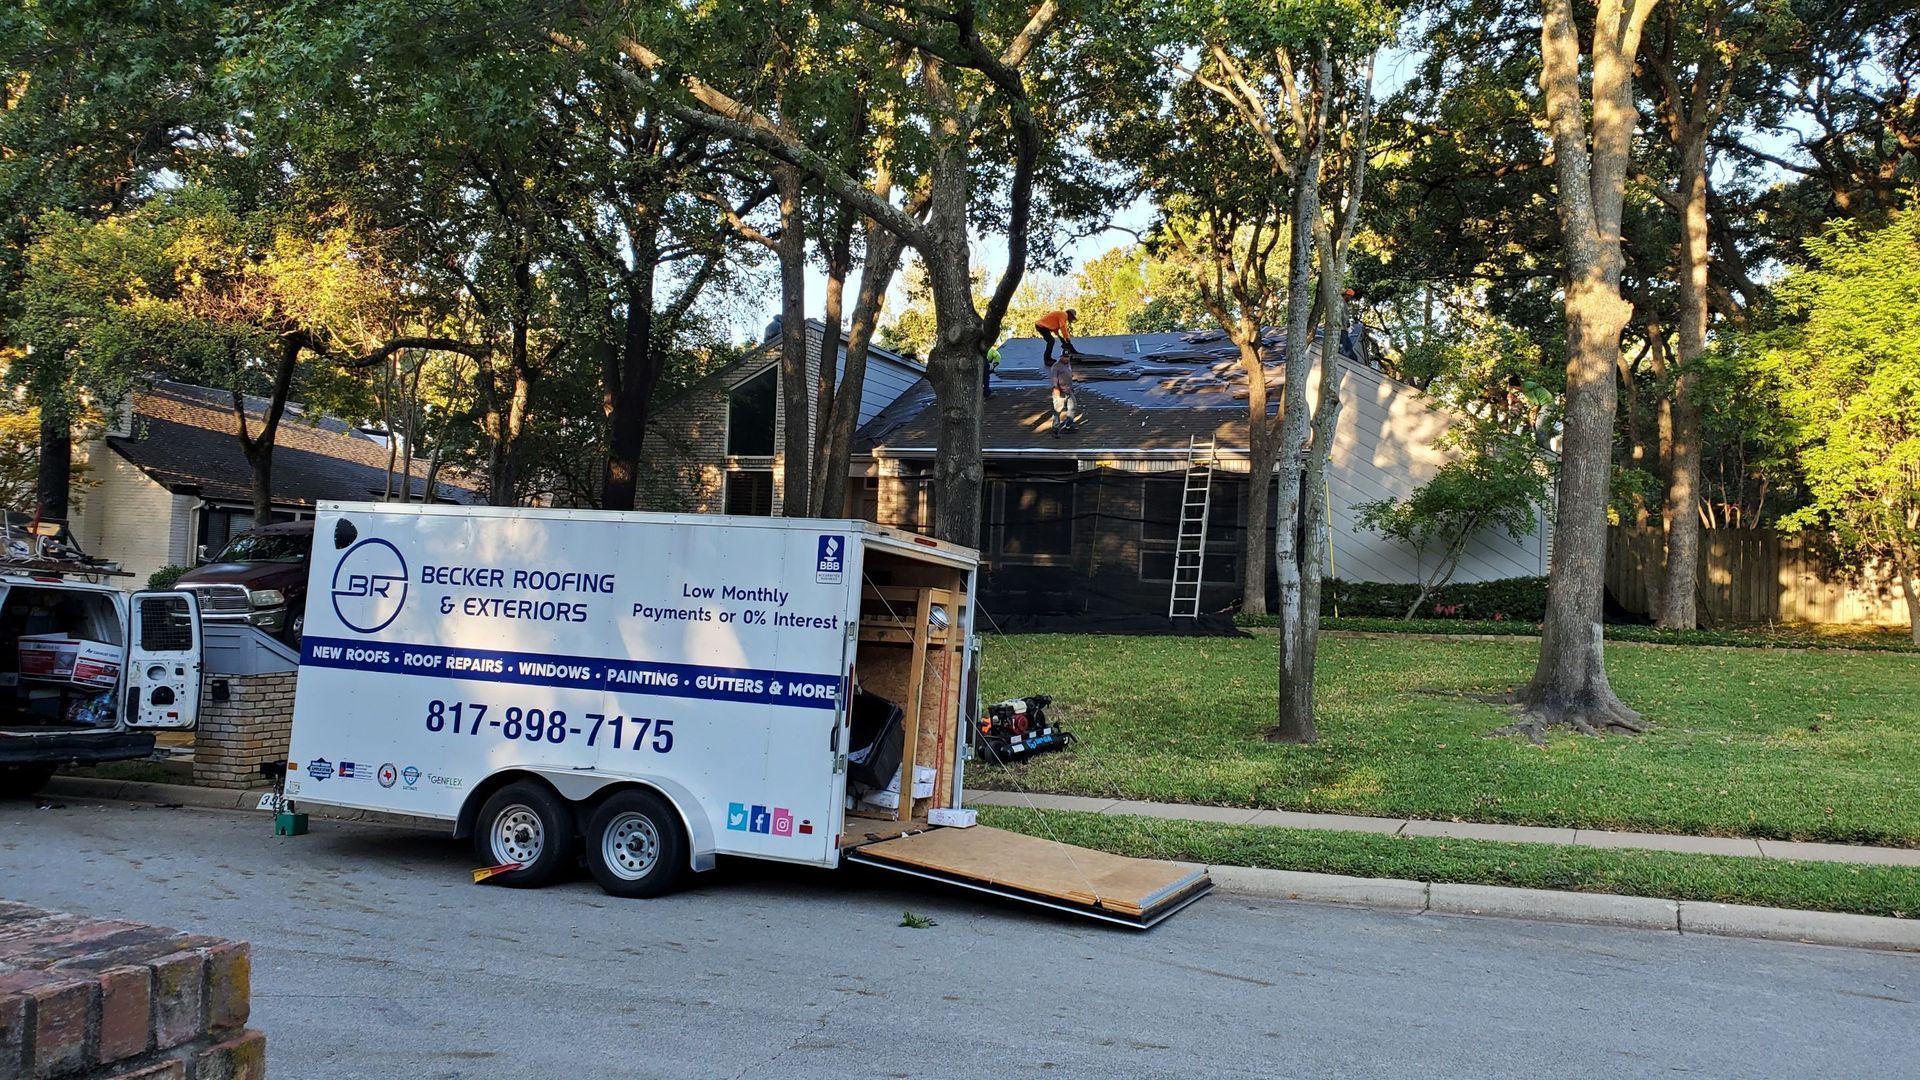
Acting quickly protects your investment. Getting a professional inspection helps you understand the full extent of the damage. This allows you to address problems before they escalate, saving you from much larger repair bills and the headache of a premature roof replacement. A timely insurance claim can cover these necessary repairs, protecting your finances.
Supporting Your Insurance Claim with Proper Documentation
Your insurance company needs proof to approve your claim. Clear documentation that connects the roof damage to a specific storm is your most powerful tool. Without it, you might face delays or even a denial. Insurance policies often have deadlines for filing, so gathering evidence quickly is key.
When taking photos for an insurance claim, make sure they are clear and show the damage in context. Take pictures from multiple angles and include a reference object, like a coin, to show the size of hail dents. Detailed, well-lit photos make it easy for the insurance adjuster to see the problem.
Strong documentation strengthens your position and helps ensure you get the compensation you deserve. It creates a clear record of the damage before any repairs begin. Maintain a file with:
- Dated photos of all damaged areas
- Notes on the date and time of the storm
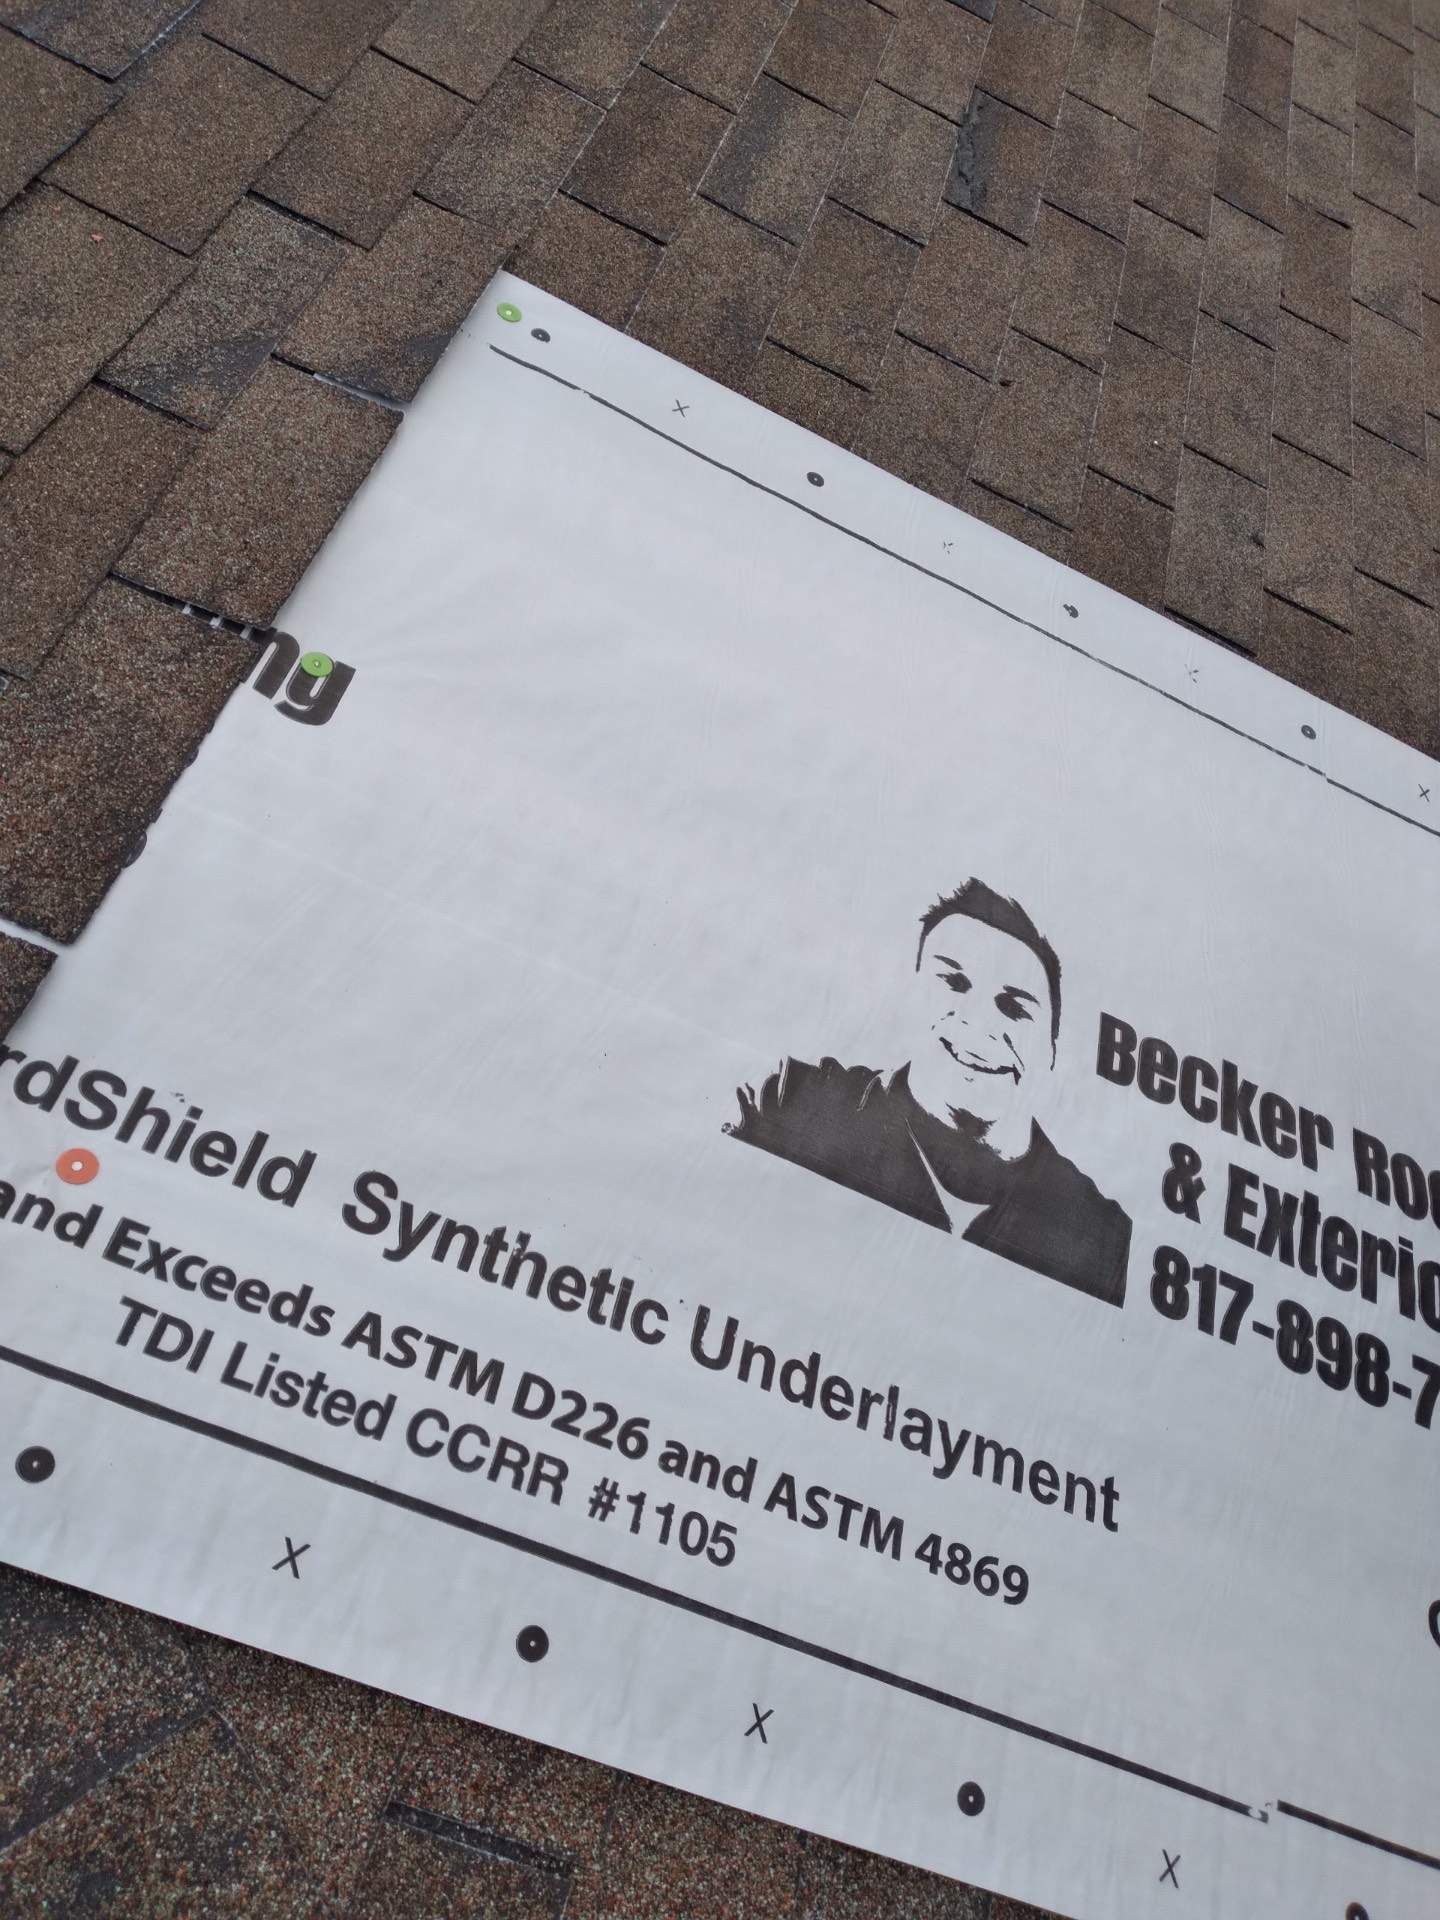
- A copy of a professional roofer's inspection report
Safety First: What DFW Homeowners Can Inspect from the Ground
Your safety is the top priority. Never climb on your roof, especially after a storm when the roof surface can be slippery and unstable. You can spot many types of roof damage safely from the ground. What may look like minor issues at first glance can often point to bigger problems.
This initial check helps you decide if you need to call a professional. Look for obvious signs of trouble from different points in your yard. We'll cover what visible roof damage looks like and how you can use a simple checklist to guide your inspection safely.
Identifying Visible Roof Damage After Storms
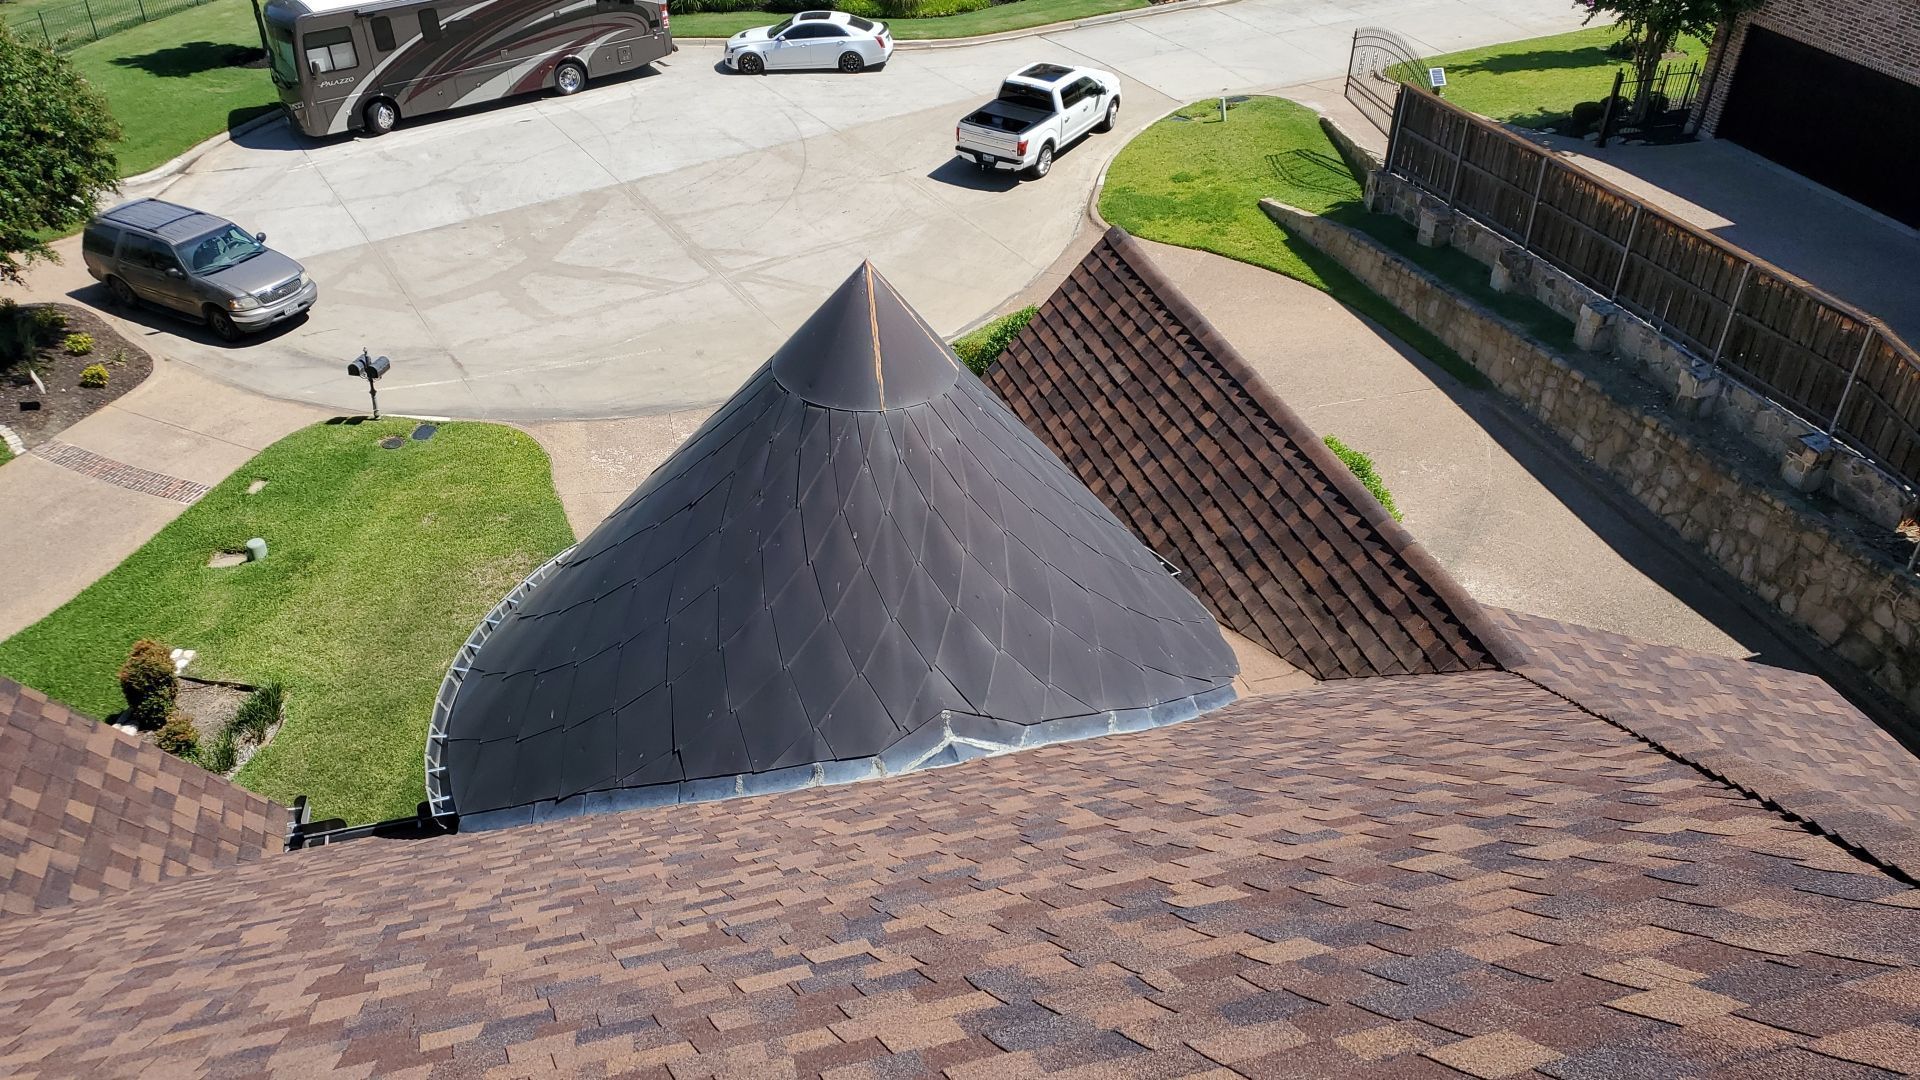
After a major storm, some damage is easy to spot from your yard. The most obvious sign of wind damage is missing shingles. Look for spots on your roof that are a different color, which could be the underlayment showing through. This is a clear signal that your roof's first line of defense is compromised.
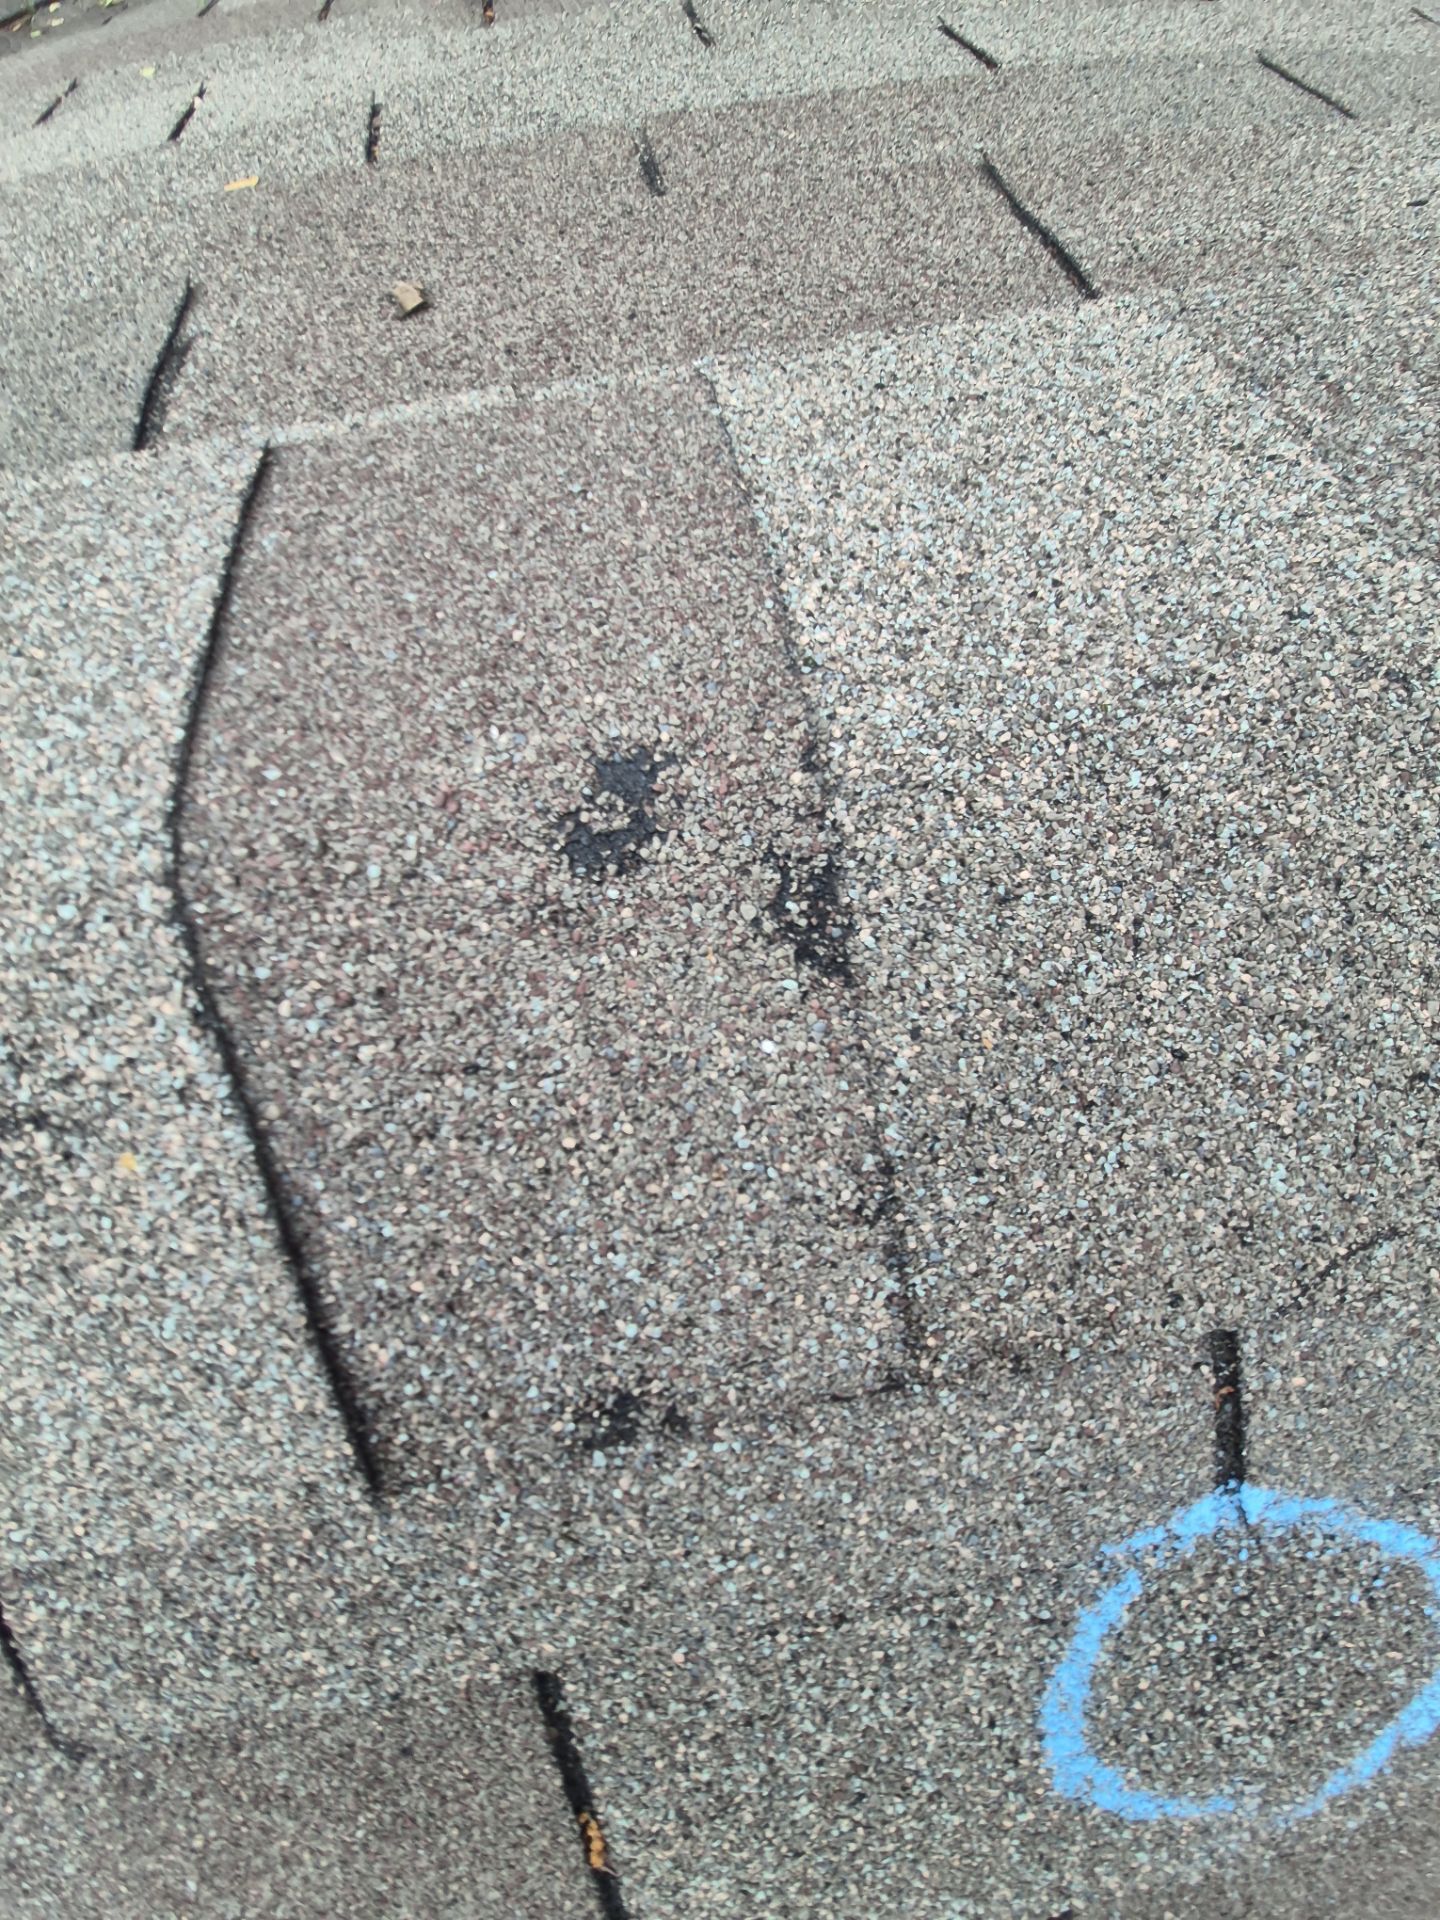
You might also notice loose granules, which look like black sand, in your gutters or on the ground near your downspouts. While it may seem like minor damage, this loss of texture exposes the shingle to UV rays, causing it to break down faster. In pictures, hail damage on a roof often appears as dark, round spots or bruises where granules have been knocked off.
Even if the damage seems small, it can lead to serious issues. Here’s what to look for:
- Shingles that are cracked, curled, or torn.
- Dents or dings on your metal gutters and downspouts.
- Pieces of shingles or roofing material in your yard.
Using the Roof Inspection Checklist Safely
A ground-level roof inspection is a smart first step, and using a checklist ensures you don’t miss anything. Your primary concern should always be safety. Stay on the ground and use binoculars to get a closer look at the roof surface and the edges of your roof. Never use a ladder in wet or windy conditions.
You can create a simple visual checklist for your inspection. Start by walking around the entire perimeter of your home. Look up at all sections of the roof, paying close attention to slopes, valleys, and areas around chimneys or vents. Take pictures of anything that looks out of place, like lifted shingles or dented flashing.
Documenting what you see provides valuable information for a professional roofer. Note any damaged areas in your yard, such as siding marks or broken fences, as this helps build a complete picture of the storm's impact. This methodical approach helps you gather evidence without putting yourself at risk.
Key Areas to Document for Your Roof Claim Photos
When preparing a roof claim, your photos are your proof. Focus on documenting all types of roof damage, no matter how small. Clear images of damaged roof shingles, gutters, and vents will be crucial for your insurance claim. These pictures help an adjuster understand the extent of the damage without having to guess.
Don't forget that damage isn't always on the roof itself. Signs of impact on other parts of your property can support your claim that a storm was severe enough to cause problems. We'll detail the specific areas you should photograph to build a strong case for water damage and other issues.
Roof Shingles and Granule Loss Indicators
Your asphalt shingles are designed to protect your home, but hail can compromise them easily. Hail damage often looks like dark, round bruises or "bald spots" on the shingles where the protective granules have been knocked off. These granules are essential for shielding the shingle from harmful UV rays.
Without this layer, the shingle material can become brittle and crack, leading to leaks. Finding loose granules in your gutters or on the ground is a clear sign of impact. Another indicator is missing shingles, which leave your roof's underlayment exposed to the elements.
When taking photos, focus on these key indicators:
- Dark, circular spots or dents on the shingles.
- Areas where the shingle surface feels soft or spongy to the touch (a professional can check this).
- Cracks or splits in the shingles, which create a direct path for water.
Gutters and Downspouts: Signs of Impact or Dents
Your gutters and downspouts are often the easiest places to spot evidence of a hailstorm. Since they are made of thin metal, they show dents from hail impact very clearly. Take a walk around your house and carefully inspect all your gutters and downspouts for new dings or scratches.
These dents serve as powerful proof for your insurance claim. If your gutters are dented, it's highly likely your roof sustained damage as well, even if it's not visible from the ground. Be sure to take photos of any dents you find, as an adjuster will consider this "collateral damage."
Damaged gutters can also lead to drainage problems. If they are bent or knocked out of alignment, they can't direct water away from your home's foundation properly. This can cause a host of other issues, so it's important to document and repair this damage promptly. Examples of roof damage photos for different roof types often include shots of dented gutters to establish the presence of hail.
Vents, Flashing, and Roof Penetrations: Visual Damage Clues
Anything that sticks out from your roof is a target during a hailstorm. This includes vents, flashing, skylights, and chimneys. These roof penetrations are common spots for visual damage that can lead to leaks. Check the soft metal flashing around these areas for dents and tears.
Plastic vents can crack or shatter from hail impact, while metal vents will show dings. Pictures of damaged vents are excellent proof for an insurance claim because they are easy to see and photograph. A damaged seal around a pipe or vent is a subtle but serious issue that creates an entry point for water.
Even if you have a durable metal roof, the vents and flashing are often more vulnerable. Make sure to photograph any visual damage you find on these components. This evidence helps demonstrate the severity of the storm and supports the need for a thorough professional inspection to check for hidden leaks.
Extending Your Inspection: Additional Exterior Damage
A storm that damages your roof likely damaged other parts of your property, too. Documenting this additional exterior damage helps prove the storm's intensity to your insurance company. Widespread damage can strengthen your case that a full roof replacement, rather than a small repair, is necessary.
Look for signs of severe damage on everything from your air conditioner to your fence. This collateral damage tells a story and provides context for your roof claim. Below, we'll cover other key areas to check and photograph as part of your post-storm inspection.
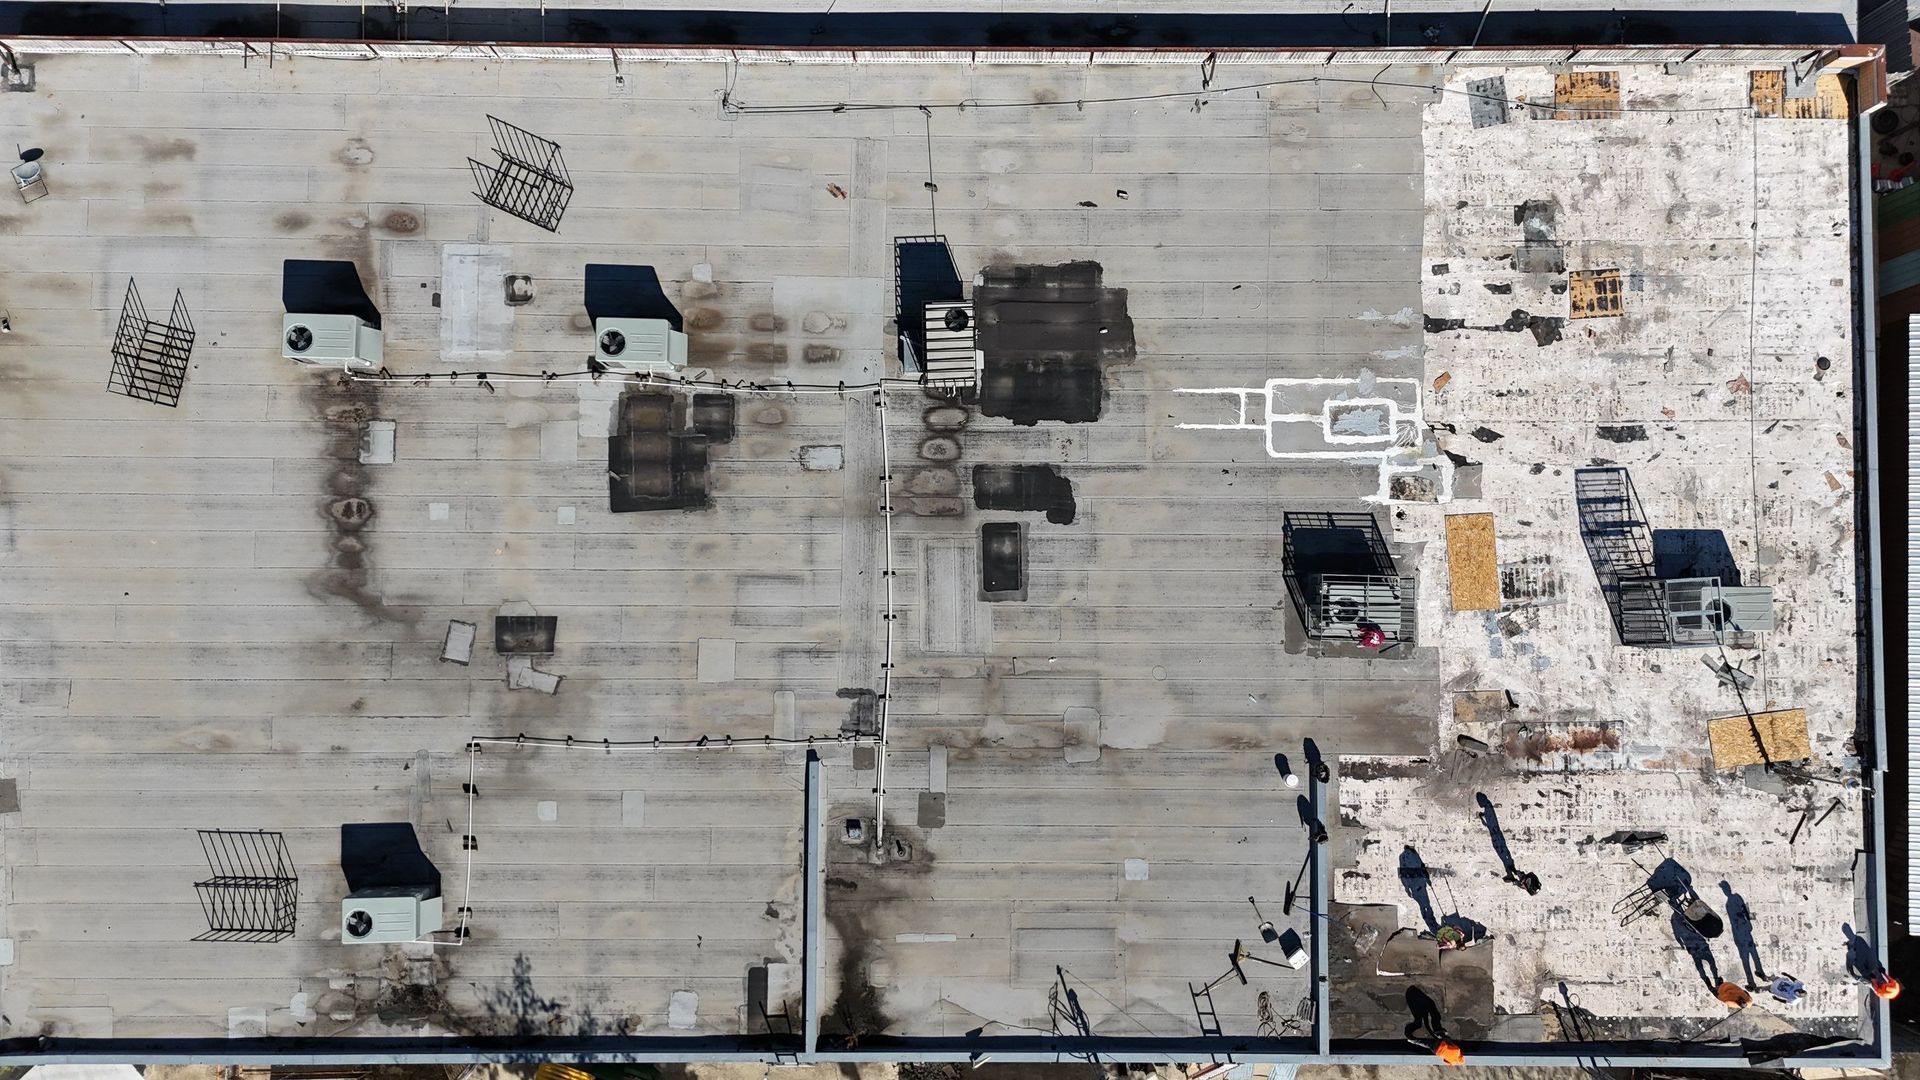
AC Units and External Appliances: Surface Checks for Dents
Your outdoor AC unit is a great indicator of hail. The thin metal fins on the top and sides of the condenser are easily dented by hailstones. After a storm, perform a surface check of your unit. Any new dents or dings are strong evidence of hail.
While high-quality stock images of roof damage are available online, photos of your own property are what your insurance company needs. Photograph any dents on your AC unit, as this helps an adjuster verify the size and intensity of the hail that hit your home. This is especially helpful if your roof damage is less obvious, as with some types of metal roofing.
Damage to the fins can also restrict airflow, making your AC unit less efficient and increasing your energy bills. Documenting this damage is important not only for your roof claim but also for a potential claim on your AC unit itself. It’s another piece of the puzzle that confirms a significant weather event occurred.
Fences, Yard, and Landscaping: Evidence of Storm Impact
Your yard can tell you a lot about the storm's impact. High winds can break tree limbs, which may have fallen on your roof or around your property. Damage to fences, decks, and landscaping provides additional evidence of the storm's severity.
Look for paint chipped off your deck or fence, especially on darker colored surfaces where fresh marks are more visible. Dents in a metal mailbox or tears in window screens also serve as proof. These signs help show that the storm was powerful enough to cause the roof damage you're claiming.
Treat your yard like a crime scene and photograph everything that looks out of place. This helps build a comprehensive file for your insurance claim. Key things to look for include:
- Broken or fallen tree limbs.
- Dents or cracks in vinyl or wood siding.
- Damage to patio furniture, sheds, or other yard structures.
Indoor Signs of Hail and Wind Damage
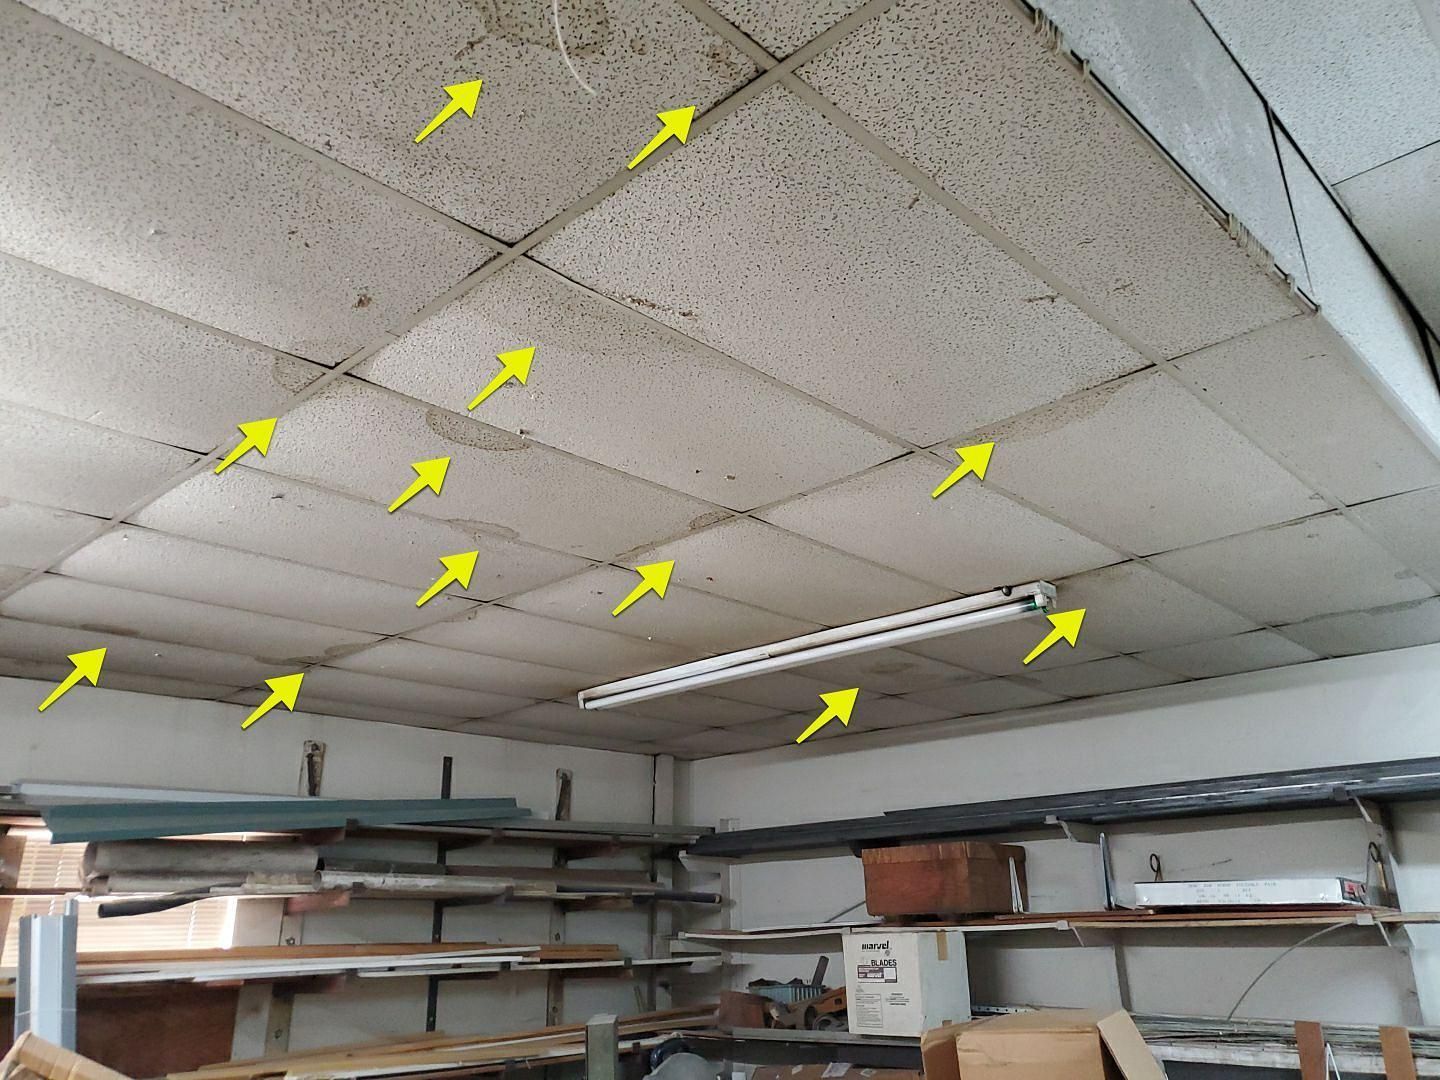
Sometimes, the first sign of hail damage or wind damage appears inside your home. After a storm, it’s a good idea to check your ceilings and attic for signs of water damage. Small leaks can travel a long way, and where you see a stain might not be directly under the source of the leak.
Dark ceiling stains, peeling paint, or new wall cracks are red flags that water is getting in. Documenting these indoor issues is just as important as photographing the exterior damage. We'll explain what to look for and when to take pictures of these critical warning signs.
Spotting Ceiling Stains and Leaks After a Storm
One of the most concerning signs of roof damage is a new stain on your ceiling. Water damage often appears as yellowish or brownish circles that grow over time. If you notice drips, especially during or after it rains, you have an active leak that needs immediate attention.
To take useful photos, capture the entire stain to show its size and location in the room. If possible, use a flashlight to check your attic space directly above the stain. Look for damp insulation, dark spots on the wood decking, or visible drips. Photos of wetness in the attic are powerful evidence for your claim.
Don’t ignore small ceiling stains or minor leaks. They are warnings of a bigger problem with your roof's integrity. Over time, this moisture can lead to mold growth and rot in your home’s structure, resulting in much more expensive repairs. Documenting these issues right away is essential for a successful claim.
Wall Cracks and Water Intrusion: When to Document
Water intrusion doesn't always show up as a clear drip. Sometimes, it can cause subtle wall cracks or make paint bubble and peel. During your indoor inspection after a storm, pay close attention to the areas where walls meet the ceiling, especially in rooms on the top floor.
Even minor impacts on your roof can allow water to seep in, which can cause drywall to swell and crack. If you see new cracks, no matter how small, it’s time to document them. These can be a sign of water getting into your wall framing. If you see this, you should call a roofer for a professional roof estimate to determine the source of the leak.
Photograph these signs of severe damage immediately. When documenting, remember to:
- Take wide shots to show the crack's location on the wall.
- Take close-up shots to show the width and length of the crack.
- Note if the area around the crack feels damp or soft.
Taking Effective Roof Damage Photos for Claims
High-quality roof damage photos are the cornerstone of a strong insurance claim. Your pictures should tell a clear and convincing story of what happened to your home. The goal is to make it easy for an insurance adjuster to see the damage to your roof shingles and roof surface without any ambiguity.
When you take these photos, think like an investigator. Capture the damage from different angles and provide context whenever possible. We'll give you some practical tips and examples to help you take photos that your insurance company will accept and understand.
Practical Tips for Capturing Clear Roof Claim Photos
To capture clear claim photos, good lighting is essential. Overcast days are often better than bright, sunny days, as direct sunlight can create glare and shadows that hide damage. If taking pictures of hail dents, chalking the impacts can make them stand out, which is a technique professionals often use.
It's also a good idea to provide a sense of scale. Place a familiar object, like a coin or a ruler, next to the damage. This helps the adjuster understand the size of the hail or the severity of a crack. Take photos from multiple distances—a close-up of the damage, a medium shot showing the surrounding area, and a wide shot showing the section of the roof.
After events with high winds or hail, documenting everything is key to getting a full replacement approved. Here are a few tips:
- Date-stamp your photos to create a clear timeline.
- Take more photos than you think you need.
- Label your photos by location (e.g., "front slope," "dented gutter by garage").
Accepted Angles and Photo Examples for Insurance Companies
Insurance companies prefer photos that are straightforward and clearly illustrate the problem. When photographing different types of roof damage, using accepted angles can make your claim easier to process. For example, photos of shingles should be taken looking straight down at the roof, not from a sharp angle, to show granule loss or cracks accurately.
For dents on metal surfaces like gutters or flashing, take photos from a slight angle to let the light catch the indentation. Your photo examples should be organized and labeled to tell a coherent story of the storm's impact on your entire property, not just the roof.
Here is a simple guide for what to capture:
Area of Damage
What to Photograph
Best Angle
Shingles
Missing shingles, cracks, bruises, "bald spots"
Straight down and from a low angle
Gutters/Vents
Dents, cracks, misalignments
Slight angle to show depth of dents
Siding/Fences
Chips, cracks, holes
Straight on with a scale object
Interior
Ceiling stains, wall cracks, water drips
Wide shot for location, close-up for detail
Conclusion
In conclusion, conducting a thorough roof inspection after a storm is essential for safeguarding your home and ensuring a successful insurance claim. By documenting key areas like roof shingles, gutters, and any visible damage from the ground, you can provide valuable evidence to support your claim. Don't overlook the interior signs of damage, such as ceiling stains or wall cracks, as these can also indicate storm impact. Taking well-angled photographs can make a significant difference in how your claim is perceived. Remember, being proactive and well-prepared can lead to smoother repair processes and peace of mind. If you're unsure about your home's condition or need help navigating the claims process, don't hesitate to reach out for assistance.
Frequently Asked Questions
What does hail damage look like on a roof?
Hail damage on asphalt shingles often appears as dark, round bruises or "bald spots" where the protective granules have been knocked off the roof surface. For a house roof, this is the most obvious sign. On a metal roof surface, it will look like dents of varying sizes.
How do I take roof damage photos for an insurance claim?
For your insurance claim, take clear, well-lit claim photos of the roof damage. Capture damaged roof shingles from multiple angles, use a coin for scale, and date-stamp your images. Documenting collateral damage to gutters, AC units, and fences will also strengthen your roof claim.
When should I call a roofer for a professional roof estimate?
You should call for a professional roof estimate immediately after a storm if you see any types of roof damage, even if it looks like minor damage. A roofer can assess for severe damage that isn’t visible from the ground and determine if repairs or a roof replacement is needed.