Fort Worth Roof Replacement: Comparing Coating Options
Explore the options for fort worth roof replacement and coating. Find the best solution for your roofing needs on our blog.
Fort Worth Roof Replacement vs. Coating Options
Key Highlights
- Roof replacement and roof coating options in Fort Worth offer different benefits and considerations.
- Understanding the factors influencing the need for roof replacement can help homeowners make an informed decision.
- Common roofing materials used in Fort Worth include metal roofs, asphalt shingles, and commercial roof restoration options.
- Exploring different types of roof coatings, such as acrylic, silicone, and polyurethane foam, can help homeowners understand their options.
- Comparing the lifespan, durability, and cost analysis of roof coatings and replacements is crucial in making the right choice for your home.
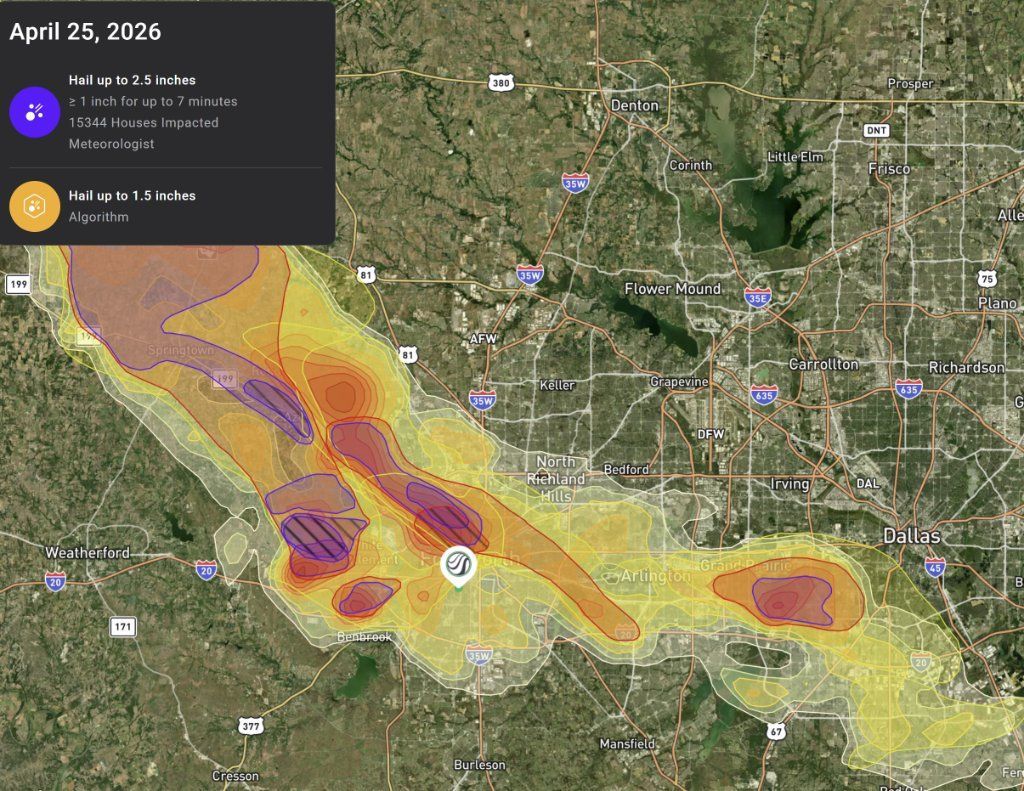
- Fort Worth's extreme weather conditions, including hail damage and moisture, should be taken into account when considering roofing options.
Introduction
When it comes to the roof of your home in Fort Worth, Texas, you have two main options: roof replacement or roof coating. Both options have their advantages and considerations, and it's important to understand the differences between them before making a decision. In this blog, we will explore the key highlights, factors influencing the need for roof replacement, common roofing materials used in Fort Worth, different types of roof coatings, and how to make the right choice for your home. We will also discuss the impact of Fort Worth's weather on your roofing decision, including hail damage and moisture management. By the end of this blog, you will have a better understanding of the pros and cons of roof replacement and coating options, allowing you to make an informed decision for your home.
Understanding Roof Replacement Options in Fort Worth
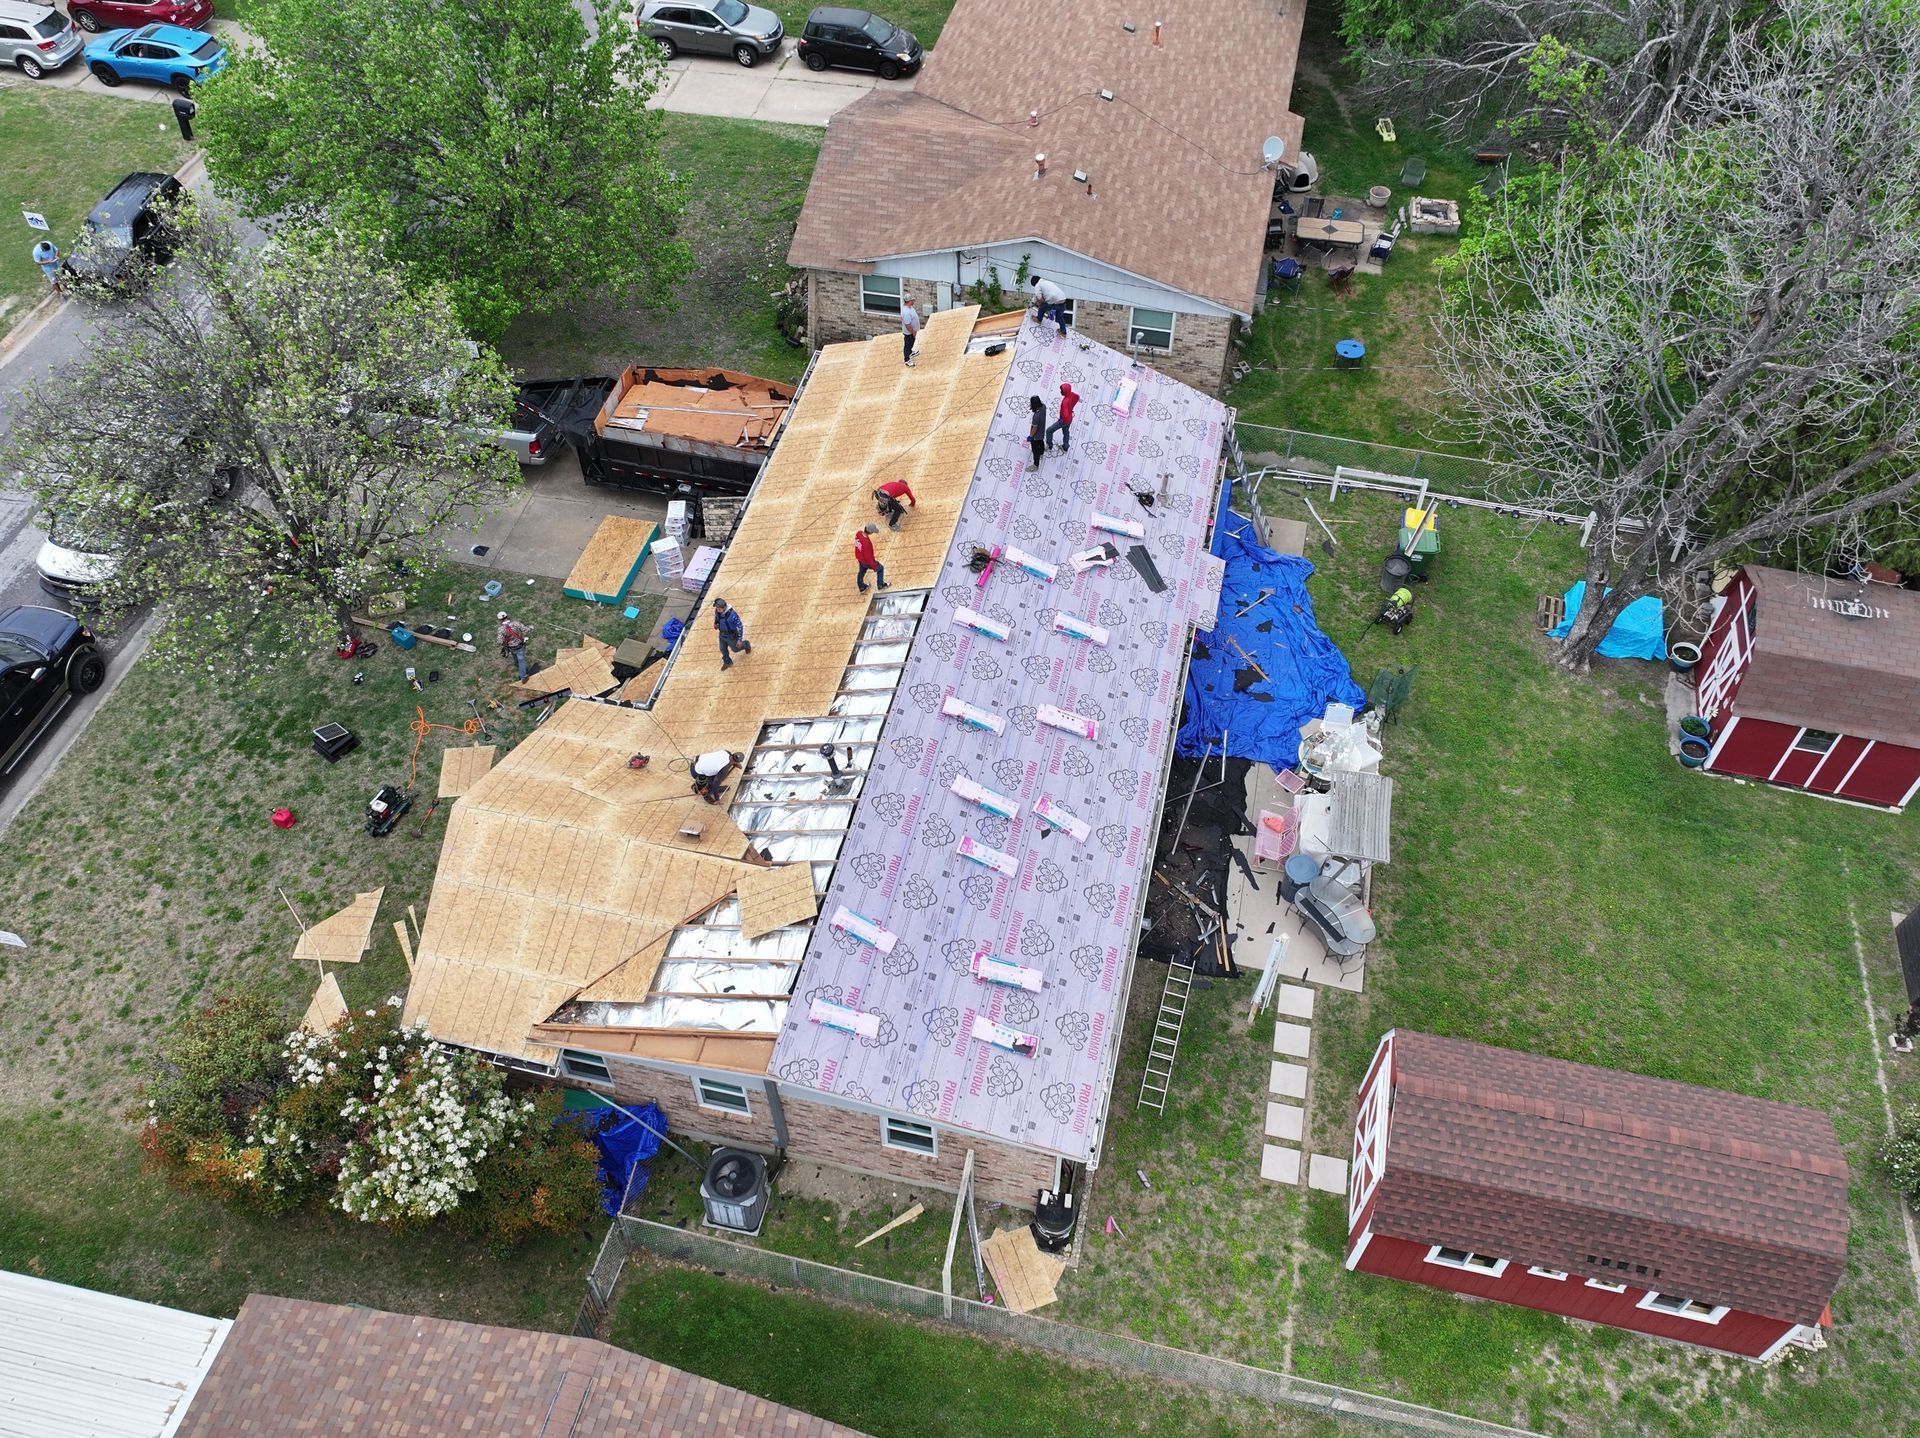
When considering roof replacement in Fort Worth, there are several factors to consider. Firstly, you need to decide whether you need a full replacement or if a partial replacement is sufficient. The type of roofing material you choose is also crucial in determining the durability and lifespan of your new roof. Additionally, it's important to find a reliable roofing company or visit a local home improvement store that offers a variety of roofing options. These factors will help you make an informed decision when it comes to replacing your roof.
Factors Influencing the Need for Roof Replacement
There are several factors that can influence the need for roof replacement. One of the main considerations is the age of your roof. An old roof that has exceeded its lifespan is more likely to require replacement. Additionally, if your roof has extensive damage or leaks that cannot be repaired, a full replacement may be necessary. The size and condition of your entire roof should also be taken into account. Different materials have different lifespans and levels of durability, so it's important to choose a material that suits your needs and budget. Consulting with a roofing professional can help you assess these factors and determine whether roof replacement is the best option for your home.
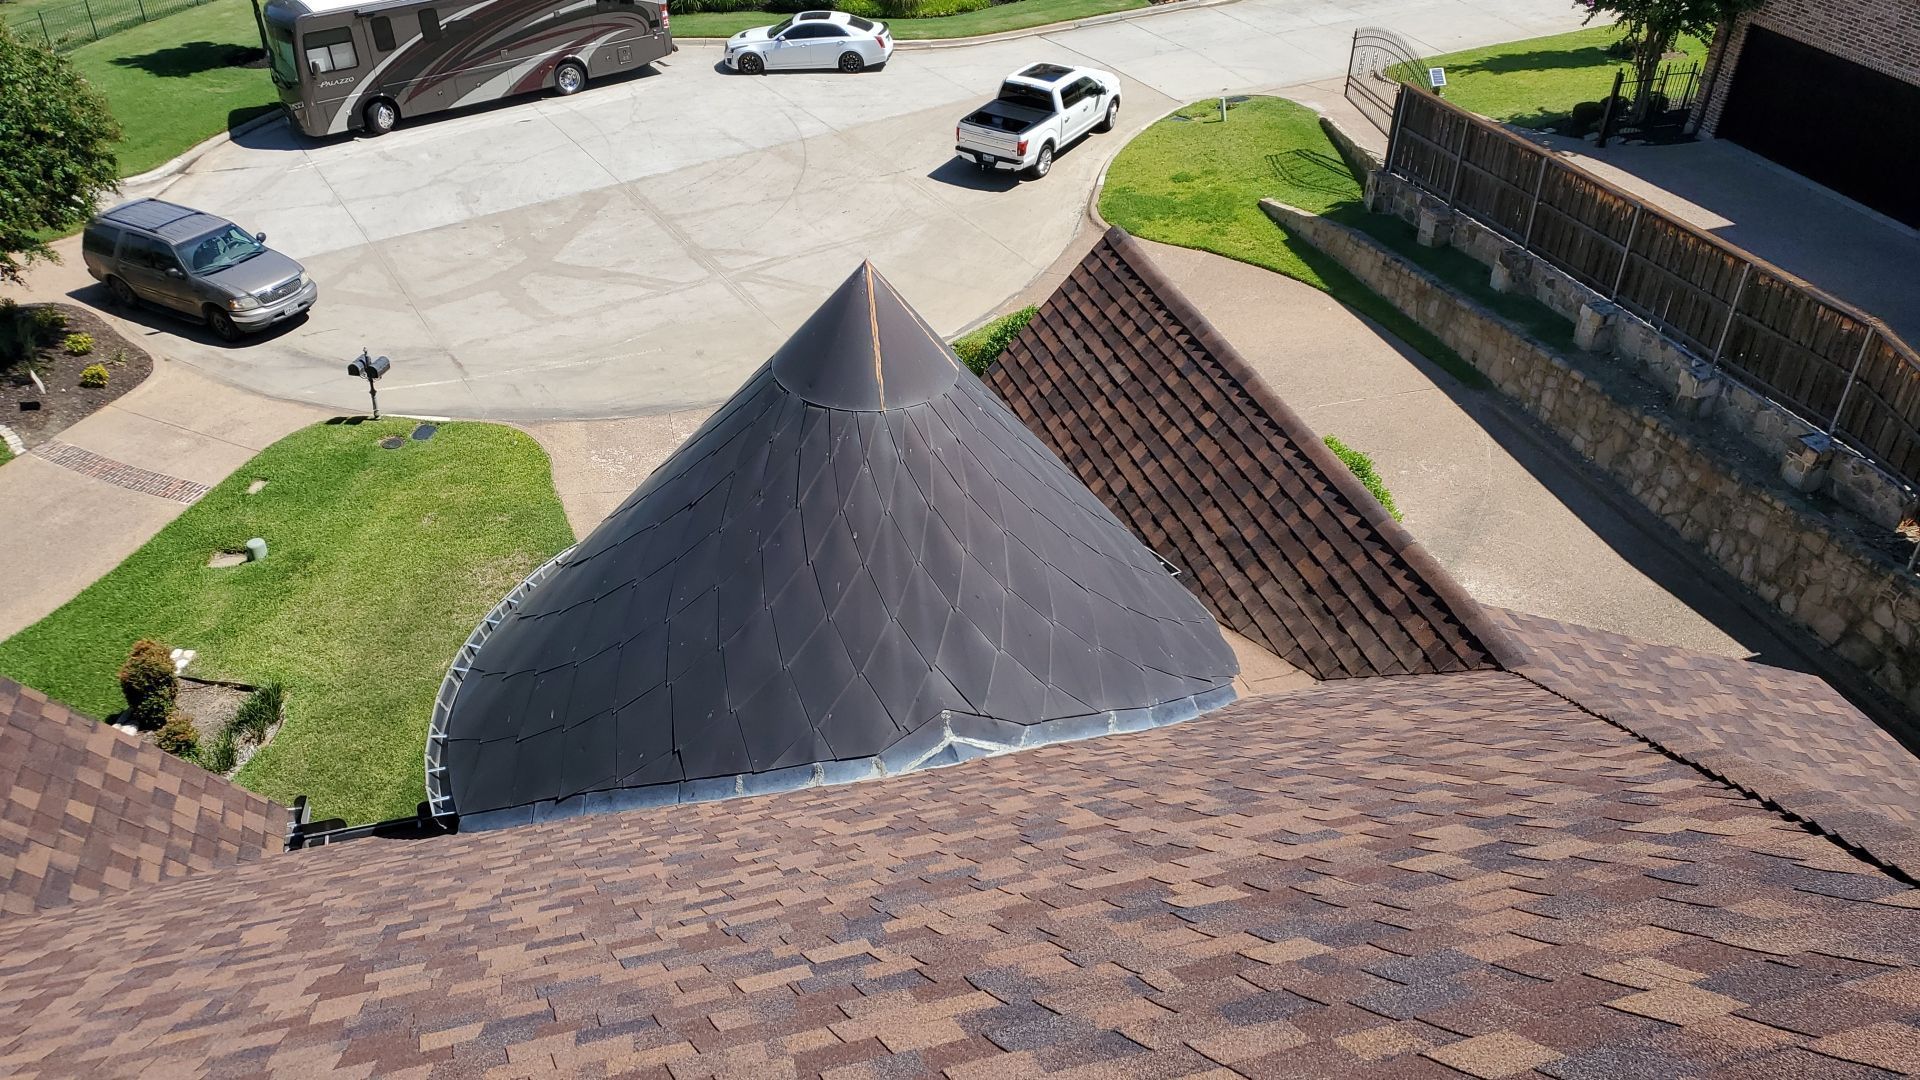
Common Roofing Materials Used in Fort Worth
In Fort Worth, there are several common roofing materials used for both residential and commercial properties. Metal roofs are popular due to their durability and longevity. They are resistant to harsh weather conditions and can last up to 50 years with proper maintenance. Another common material is asphalt shingles, which are affordable and easy to install. They come in a variety of colors and styles, making them suitable for different architectural designs. Additionally, commercial roof restoration options, such as applying coatings to existing roofs, are gaining popularity due to their cost-effectiveness and energy-saving benefits. These options allow property owners to extend the life of their roofs without the need for a full replacement.
Exploring Roof Coating Types
Roof coatings are a popular alternative to roof replacement in Fort Worth. There are several types of roof coatings available, each with its own benefits and considerations. Acrylic coatings are known for their energy-saving properties and durability. Silicone coatings offer excellent waterproofing and UV protection. Polyurethane foam coatings provide insulation and seamless protection for flat roofs. Understanding the different types of roof coatings can help homeowners choose the best option for their specific needs and budget.
Benefits of Acrylic Roof Coatings
Acrylic roof coatings offer several benefits for homeowners in Fort Worth.
- They can significantly reduce energy bills by reflecting sunlight and keeping the interior of the home cooler.
- Acrylic coatings provide an additional layer of protection to the roofing material, increasing its durability and lifespan.
- These coatings are easy to apply and can be used on various types of roofs, including metal, asphalt shingle, and flat roofs.
- Acrylic coatings can help prevent leaks and water damage, providing peace of mind for homeowners.
Advantages of Silicone Roof Coatings
Silicone roof coatings offer unique advantages for homeowners in Fort Worth.
- Silicone coatings are 100% waterproof, providing excellent protection against leaks and water damage.
- These coatings are highly durable and can withstand extreme weather conditions, such as hail and high winds.
- Silicone coatings have a long lifespan and require minimal maintenance, saving homeowners time and money in the long run.
- They are also resistant to UV degradation, preventing premature aging of the roof.
Key Features of Elastomeric Coatings
Elastomeric roof coatings, such as polyurethane foam, offer several key features for homeowners in Fort Worth.
- Elastomeric coatings provide exceptional waterproofing, protecting the roof from leaks and water damage.
- These coatings are highly durable and can withstand extreme weather conditions, including hail and high winds.
- Elastomeric coatings have excellent energy-saving properties, reducing heat transfer and lowering energy bills.
- They can be applied to various types of roofs, including flat roofs, providing seamless protection and extending their lifespan.
Roof Coatings vs. Replacement: Making the Right Choice
When it comes to making the right choice between roof coatings and replacement in Fort Worth, several factors should be considered. Roof replacement may be a good option if your roof is severely damaged or has reached the end of its lifespan. However, roof coatings can provide a cost-effective alternative, especially in areas with extreme weather conditions. Additionally, roof coatings can help reduce energy bills by improving insulation and preventing heat transfer. Understanding the benefits and limitations of both options can help homeowners make an informed decision.
Lifespan and Durability Comparison
When comparing the lifespan and durability of roof coatings and replacements, it's important to consider the type of roof and roof system in Fort Worth. Here is a comparison of the average lifespan and durability of different roof materials and systems:
Roof Material/System
Lifespan (years)
Durability
Metal Roof
50+
Highly durable
Asphalt Shingle Roof
15-30
Moderate durability
Flat Roof with Coating
10-20
Highly durable with proper maintenance
Commercial Roof System
20-30
Highly durable with proper maintenance
It's important to note that proper maintenance and regular inspections can significantly extend the lifespan and durability of any roofing system. Consulting with a roofing professional can help homeowners assess the specific needs and requirements of their roof.
Cost Analysis Over Time
When considering the cost of roof coatings versus replacement in Fort Worth, it's important to conduct a cost analysis over time. While roof replacement may have a higher upfront cost, it can provide a longer lifespan and potentially save money in the long run. However, roof coatings can be a more cost-effective option, especially if the existing roof is in good condition and has a relatively long remaining lifespan. Homeowners should consider factors such as the size of the roof, the type of coating or replacement material, and the potential for future repairs or maintenance. Consulting with a roofing professional can help homeowners determine the most cost-effective option for their specific situation.
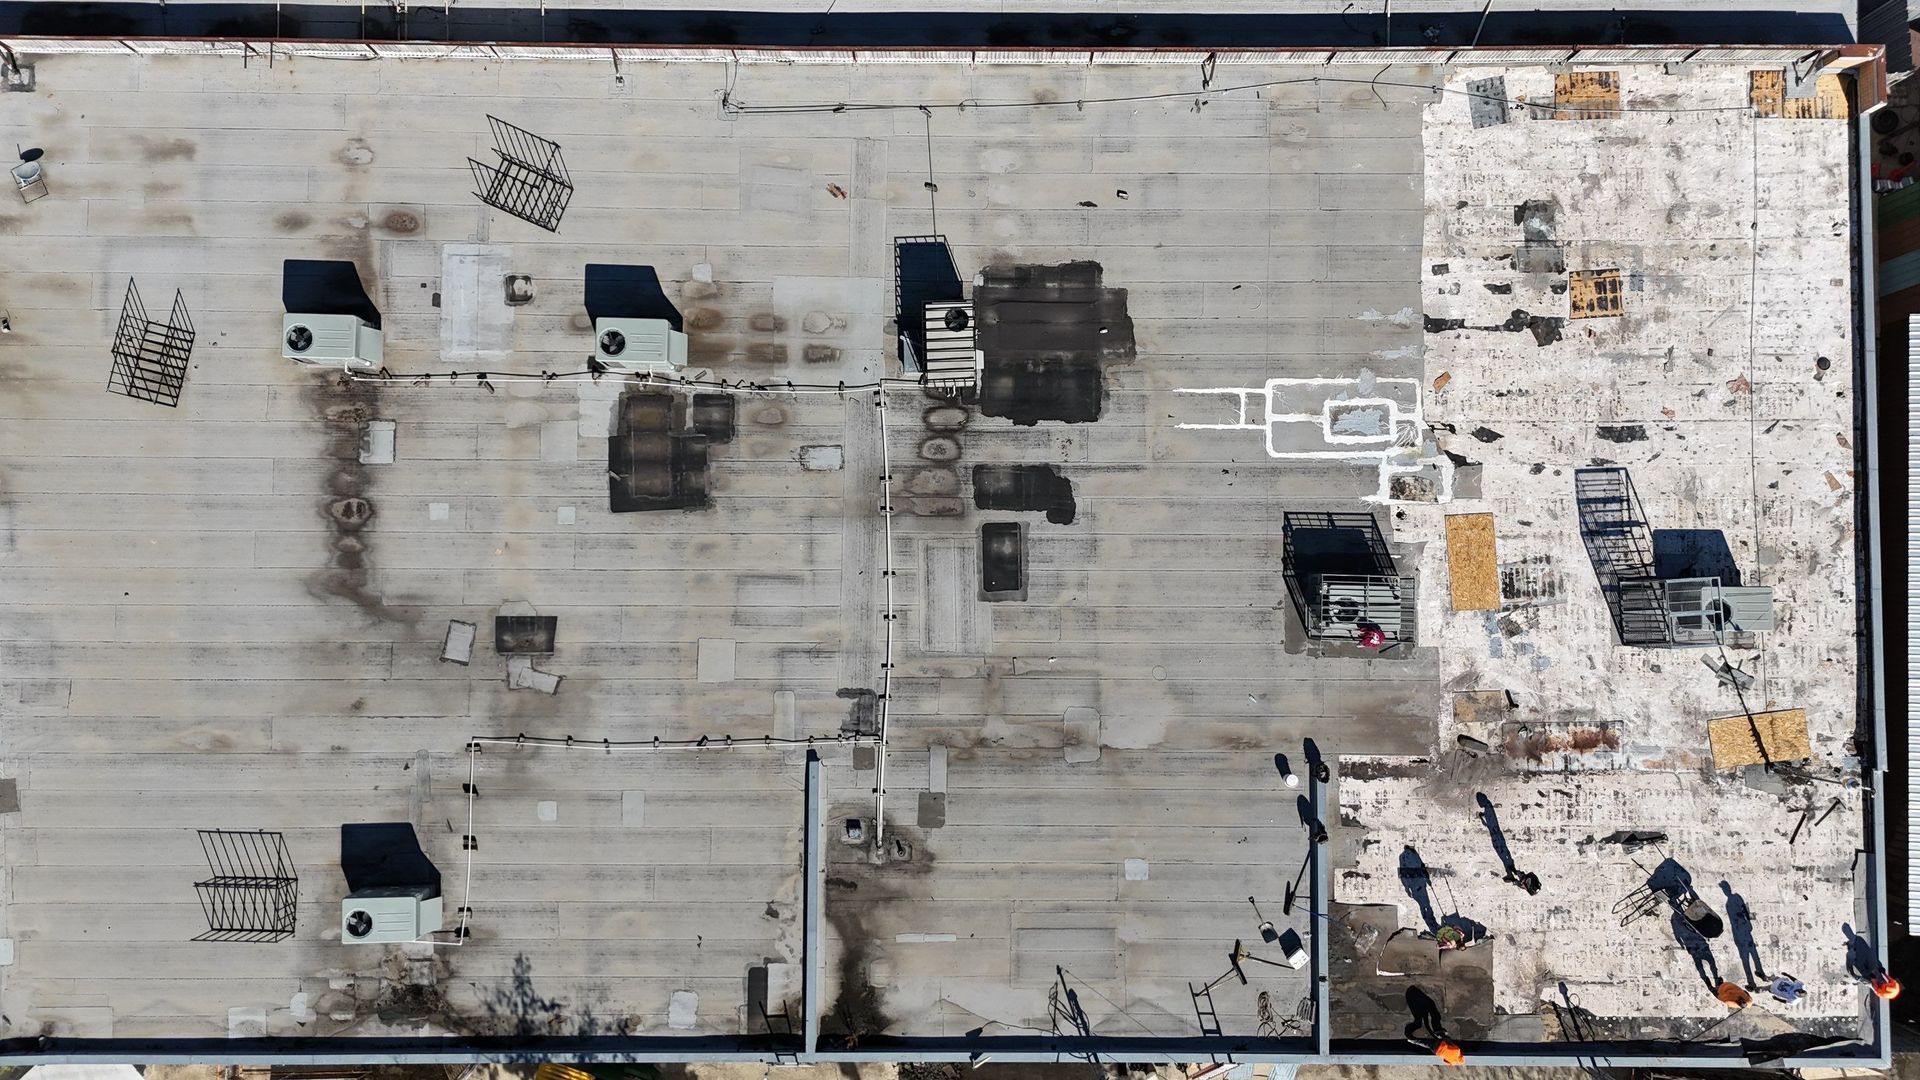
The Impact of Fort Worth Weather on Your Roofing Decision
The extreme weather conditions in Fort Worth can have a significant impact on your roofing decision. Hail damage is a common concern in the area, and it can cause significant damage to roofs. Roof coatings can provide an added layer of protection against hail and prevent leaks and water damage. Moisture management is also crucial in Fort Worth, as excessive moisture can lead to mold growth and structural damage. Roof coatings can help waterproof the roof and prevent moisture from seeping into the home. Considering these factors can help homeowners make a more informed decision about their roofing options.
Dealing with Hail Damage: Coatings and Replacements
Hail damage is a common concern for homeowners in Fort Worth. When dealing with hail damage, homeowners have two main options: roof replacement or roof coatings. Roof replacement may be necessary if the damage is extensive and cannot be repaired. However, roof coatings can provide a cost-effective solution for minor to moderate hail damage. Coatings can help seal small cracks and prevent leaks, extending the lifespan of the roof. It's important to consult with a roofing professional to assess the extent of the damage and determine the best course of action. They can help homeowners make an informed decision based on the specific needs of their roof.
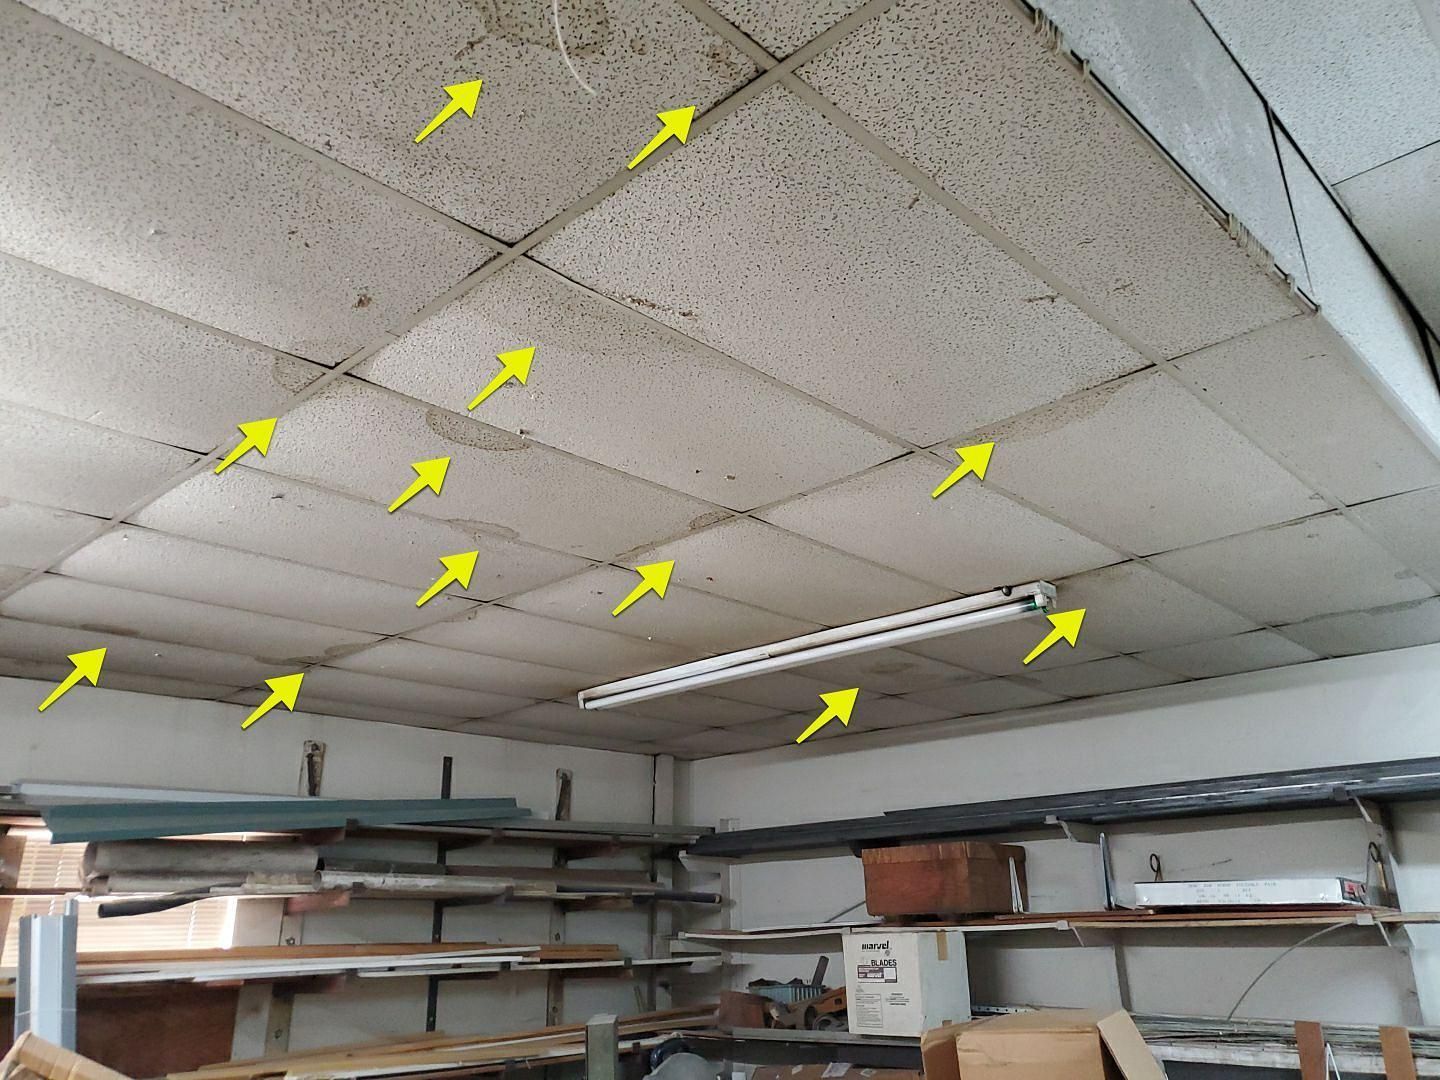
Moisture Management: Can You Coat Over Wet Surfaces?
Moisture management is crucial for the longevity and durability of any roof in Fort Worth. When it comes to roof coatings, it's important to ensure that the surface is dry before application. Coating over wet surfaces can trap moisture and lead to further damage. Before applying a roof coating, the surface should be thoroughly inspected for moisture and any wet areas should be properly addressed. This may require repairs or drying out the surface before coating. Consulting with a roofing professional can help homeowners understand the moisture management requirements for roof coatings and ensure that the coating is applied to a dry and stable surface.
Warranty Considerations for Roof Coatings and Replacements
Warranties play a significant role when considering roof coatings and replacements. Understanding the warranty options for both options is essential to make an informed decision.
For roof coatings, it is important to know what to expect from the warranty. Different types of coatings, such as acrylic, silicone, and polyurethane foam, may have varying warranty terms. These warranties typically cover material defects and workmanship issues. The duration of the warranty can range from a few years to several decades, so it is important to read and understand the terms and conditions.
In the case of full roof replacements, warranties are typically offered by the roofing companies. These warranties cover the entire roof system and provide protection against material defects and installation errors. The duration of the warranty can vary depending on the roofing company, but it is important to choose a reputable company that offers a comprehensive warranty. The warranty should also include provisions for repairs or replacements in case of any issues.
What to Expect from a Roof Coating Warranty
When considering a roof coating warranty, it is important to understand what is covered and what is not. Different types of coatings, such as acrylic, silicone, and polyurethane foam, may have varying warranty terms and conditions.
Acrylic coatings are popular for their durability and affordability. A typical warranty for acrylic coatings may cover material defects and workmanship issues for a duration of 5 to 10 years. However, it is important to note that acrylic coatings may require reapplication or maintenance coats during the warranty period to maintain their effectiveness.
Silicone coatings are known for their long-lasting performance and excellent waterproofing properties. A silicone coating warranty often covers material defects and workmanship issues for a duration of 10 to 20 years. Silicone coatings are highly resistant to UV damage and extreme weather conditions, making them a popular choice for roof protection.
Polyurethane foam coatings offer superior insulation and protection against leaks. The warranty for polyurethane foam coatings typically covers material defects and workmanship issues for a duration of 10 to 15 years. It is important to properly maintain and inspect the foam coating to ensure its effectiveness throughout the warranty period.
Understanding Roof Replacement Warranties in Depth
Roof replacement warranties are an important consideration when opting for a full replacement. Understanding the details of these warranties can provide peace of mind and ensure long-term protection for your new roof.
Full roof replacement warranties are typically offered by roofing companies and cover both material defects and installation errors. It is important to choose a reputable roofing company that offers a comprehensive warranty to ensure that any potential issues are addressed.
The duration of a roof replacement warranty can vary depending on the roofing company and the type of materials used. Some warranties may cover the entire lifespan of the roof, while others may offer a specific duration, such as 25 or 30 years. It is important to read and understand the terms and conditions of the warranty, including any limitations or exclusions.
Roof replacement warranties often include provisions for repairs or replacements in case of any issues. It is important to maintain the roof properly and follow any recommended maintenance guidelines to ensure the warranty remains valid. Regular inspections by a professional roofer can help identify and address any potential issues before they become major problems.
Preparing Your Roof for Coating or Replacement
Before opting for roof coating or replacement, it is important to prepare your roof to ensure the best possible outcome. This involves inspecting your roof and addressing any existing issues, especially moisture-related problems.
Inspecting your roof is crucial to identify any signs of damage or deterioration. This includes checking for leaks, cracks, or other visible issues. It is recommended to hire a professional roofer to perform a thorough inspection and provide an assessment of the roof's condition.
Moisture is a significant concern when it comes to roof coating or replacement. If your roof has excessive moisture or leaks, it may not be suitable for coating. Moisture trapped beneath a coating can cause further damage and compromise its effectiveness. If moisture issues are detected, it is important to address them before proceeding with any coating or replacement work.
In the case of roof replacement, addressing moisture issues may involve repairing or replacing damaged roofing materials, addressing any underlying structural issues, and ensuring proper waterproofing measures are in place. For roof coating, proper preparation may involve repairing any leaks or cracks and ensuring the roof is clean and dry before applying the coating.
Inspecting Your Roof: When Is It Too Late for Coating?
Inspecting your roof is a crucial step before considering a roof coating. It helps determine the overall condition of the roof and whether it is suitable for coating.
For older roofs or roofs approaching the end of their expected lifespan, it may be too late for coating. Roof coatings are most effective when applied to roofs in good condition with minimal existing damage. If a roof is already severely deteriorated or has extensive damage, a full roof replacement may be the more appropriate option.
The lifespan of a roof depends on various factors, such as the type of roofing material and the local climate. As a general guideline, asphalt shingle roofs typically last 20 to 30 years, while metal roofs can last 40 to 70 years. If your roof is already nearing the end of its expected lifespan, it may not be suitable for coating, and a replacement may be a better long-term solution.
Moisture is another important factor to consider. If your roof has ongoing moisture issues or leaks, it may not be suitable for coating. Moisture trapped beneath a coating can lead to further damage and compromise the effectiveness of the coating. Properly addressing moisture issues before coating is essential to ensure the coating's longevity and effectiveness.
Steps to Take Before Applying a Roof Coating
Before applying a roof coating, it is important to take several steps to ensure the best possible results and maximize the coating's effectiveness.
The first step is to address any existing moisture issues. Moisture can compromise the adhesion and performance of the coating, so it is essential to identify and fix any leaks or areas of excessive moisture. This may involve repairing damaged roofing materials, improving drainage, or adding additional waterproofing measures.
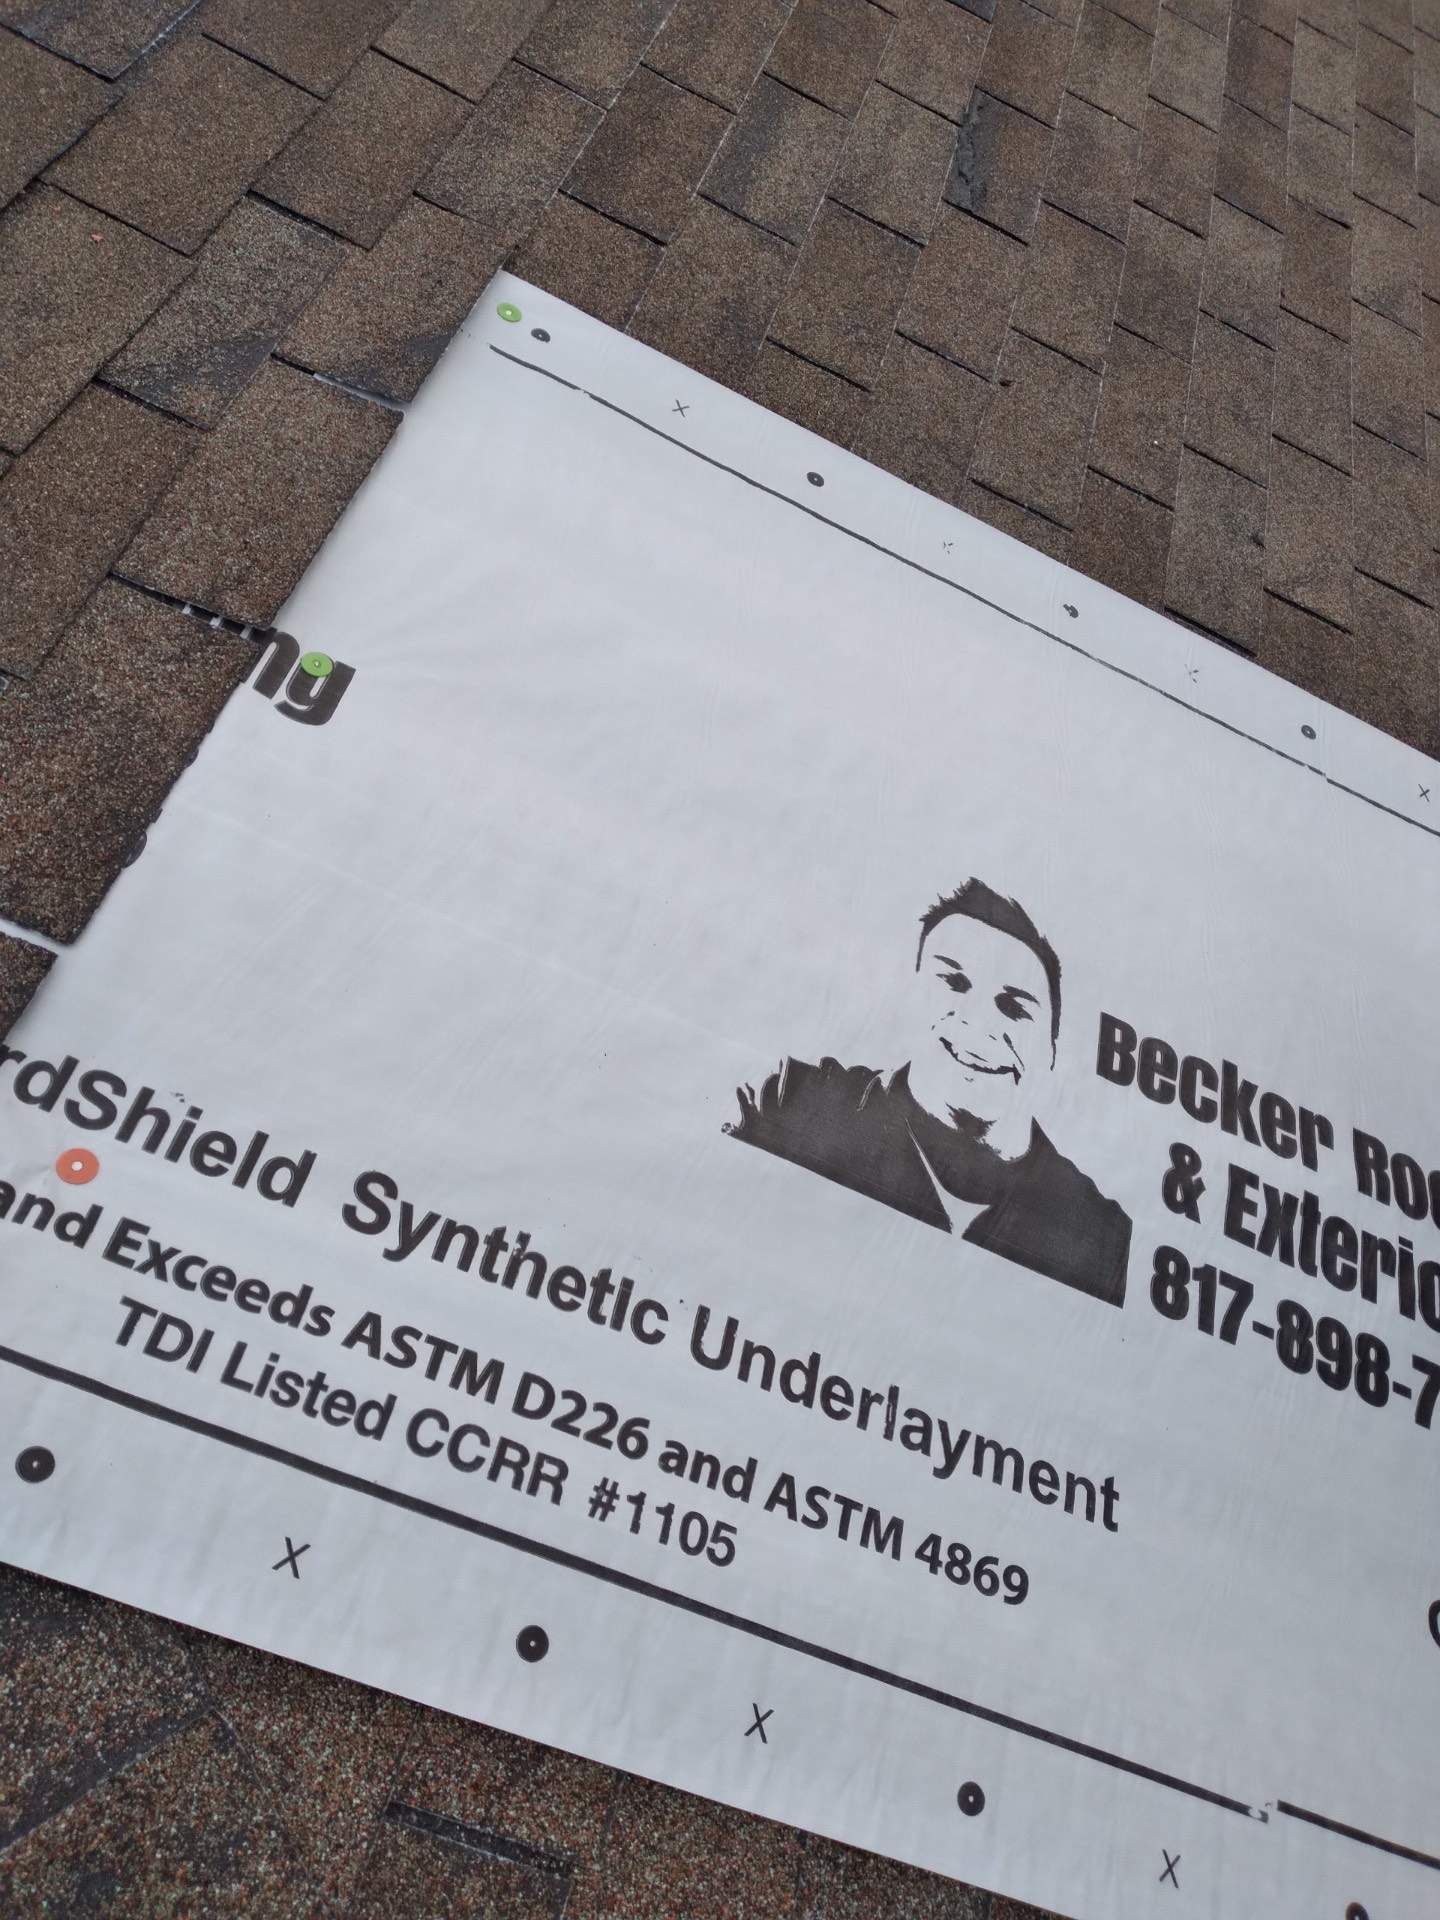
Next, the roof should be thoroughly cleaned to remove dirt, debris, and any existing coatings or sealants. This can be done using a power washer or a specialized roof cleaning solution. Cleaning the roof ensures proper adhesion of the coating and helps maximize its lifespan.
After cleaning, any necessary repairs should be made to the roof system. This may involve replacing damaged or deteriorated roofing materials, sealing cracks or seams, and reinforcing any weak areas. It is important to have a solid and structurally sound roof before applying the coating.
Finally, the roof should be fully dry before applying the coating. Moisture trapped beneath the coating can lead to issues such as bubbling or peeling. It is recommended to wait for a dry day with favorable weather conditions to ensure proper drying before applying the coating.
Application Process for Roof Coatings
The application process for roof coatings can vary depending on the type of coating and the specific roof system. While it is possible to apply roof coatings as a DIY project, it is recommended to hire a professional roofing contractor for the best results.
The first step in the application process is to clean the roof thoroughly to ensure proper adhesion of the coating. This typically involves removing any dirt, debris, and existing coatings or sealants. The roof may need to be power washed or cleaned using a specialized roof cleaning solution.
Once the roof is clean and dry, the coating can be applied using a roller or spray method. It is important to follow the manufacturer's instructions and recommendations for the specific coating being used. The coating should be applied evenly and in multiple thin layers to ensure proper coverage and adhesion.
Roof coatings may require a specific drying or curing time before they can be exposed to the elements. It is important to allow the coating to fully dry before any foot traffic or exposure to rain or other weather conditions. Following the recommended drying time and best practices for application will help ensure the longevity and effectiveness of the roof coating.
Best Practices for Acrylic Coating Application
When it comes to acrylic coating application, there are several best practices to follow for optimal results, whether you are a professional roofer or tackling the project as a DIY enthusiast.
First, ensure that the roof is clean and dry before applying the acrylic coating. Any dirt, debris, or moisture can affect the adhesion and performance of the coating. A thorough cleaning using a specialized roof cleaner or power washer is recommended.
Next, apply the acrylic coating in multiple thin layers rather than a single thick layer. This allows for better coverage and ensures proper adhesion to the roof surface. Follow the manufacturer's instructions for the recommended number of layers and drying time between each layer.
It is also important to use the correct tools and equipment for the job. A high-quality roller or sprayer designed for acrylic coatings will provide the best results. Take care to apply the coating evenly and smoothly, avoiding any drips or puddles.
Finally, allow the acrylic coating to fully dry before exposing it to any foot traffic or weather conditions. This may require waiting for a specific drying time as recommended by the manufacturer. Following these best practices will help ensure a successful application and enhance the overall performance of the acrylic coating.
Silicone Coating: Ensuring Maximum Effectiveness
Silicone coatings offer excellent durability and waterproofing properties, making them a popular choice for roof protection. To ensure maximum effectiveness when applying a silicone coating, it is important to follow best practices.
First and foremost, the roof should be clean and dry before applying the silicone coating. Any dirt, debris, or moisture can compromise the adhesion and performance of the coating. Thoroughly clean the roof using a specialized roof cleaner or power washer, and allow it to fully dry before proceeding with the coating application.
It is also important to apply the silicone coating in multiple thin layers for optimal coverage and adhesion. Follow the manufacturer's instructions for the recommended number of layers and drying time between each layer. Applying the coating evenly and smoothly will help ensure a successful application.
Finally, allow the silicone coating to fully cure before exposing it to foot traffic or weather conditions. The curing time can vary depending on the specific silicone coating being used, so it is important to follow the manufacturer's recommendations. By following these best practices, you can ensure maximum effectiveness and longevity of the silicone coating.
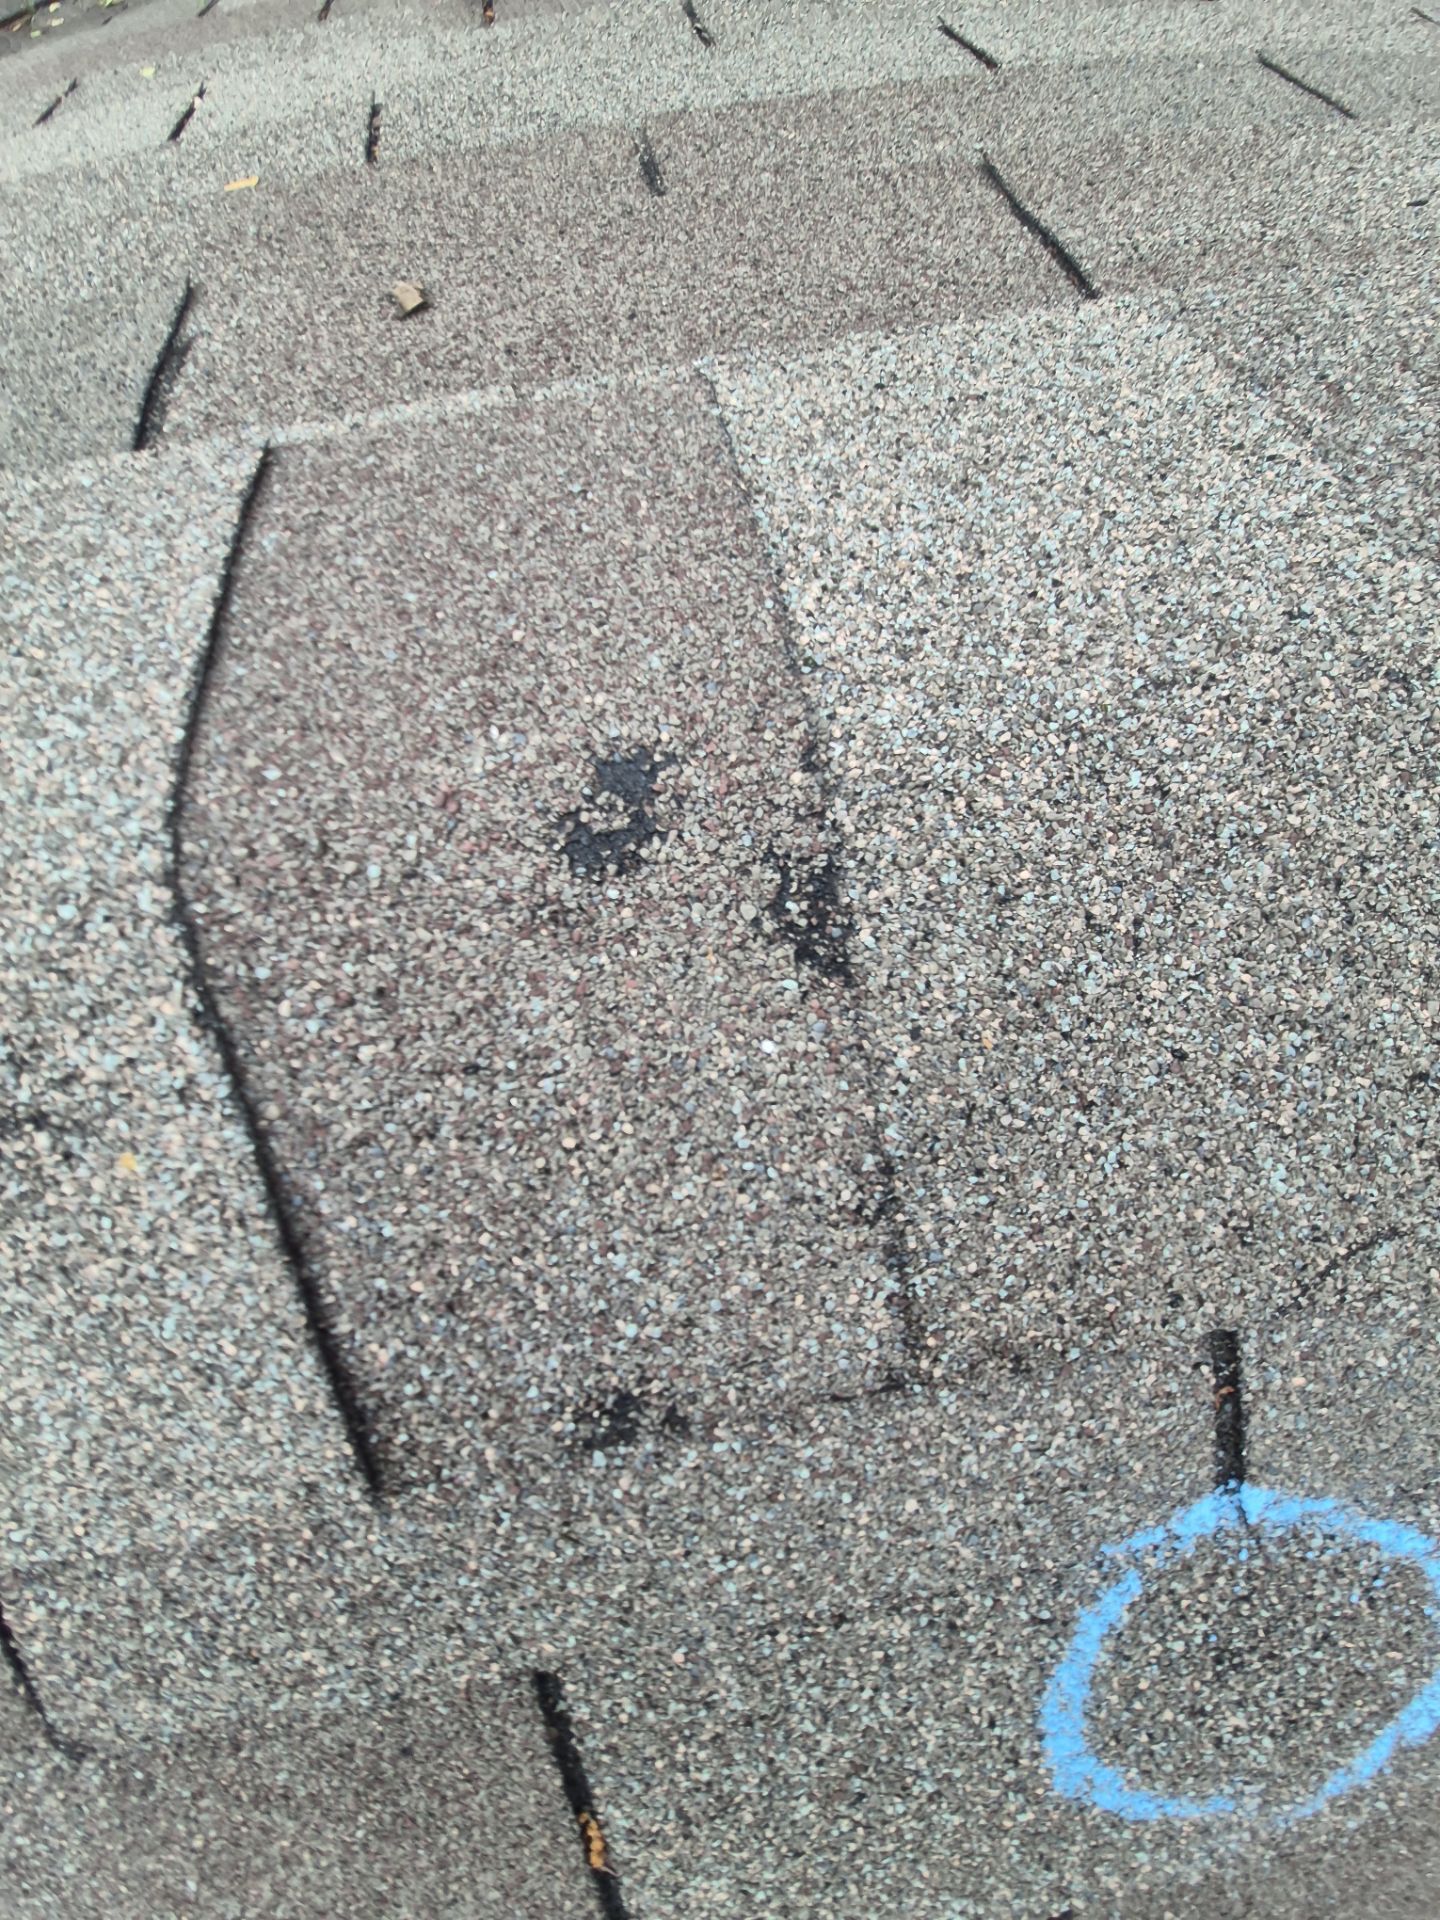
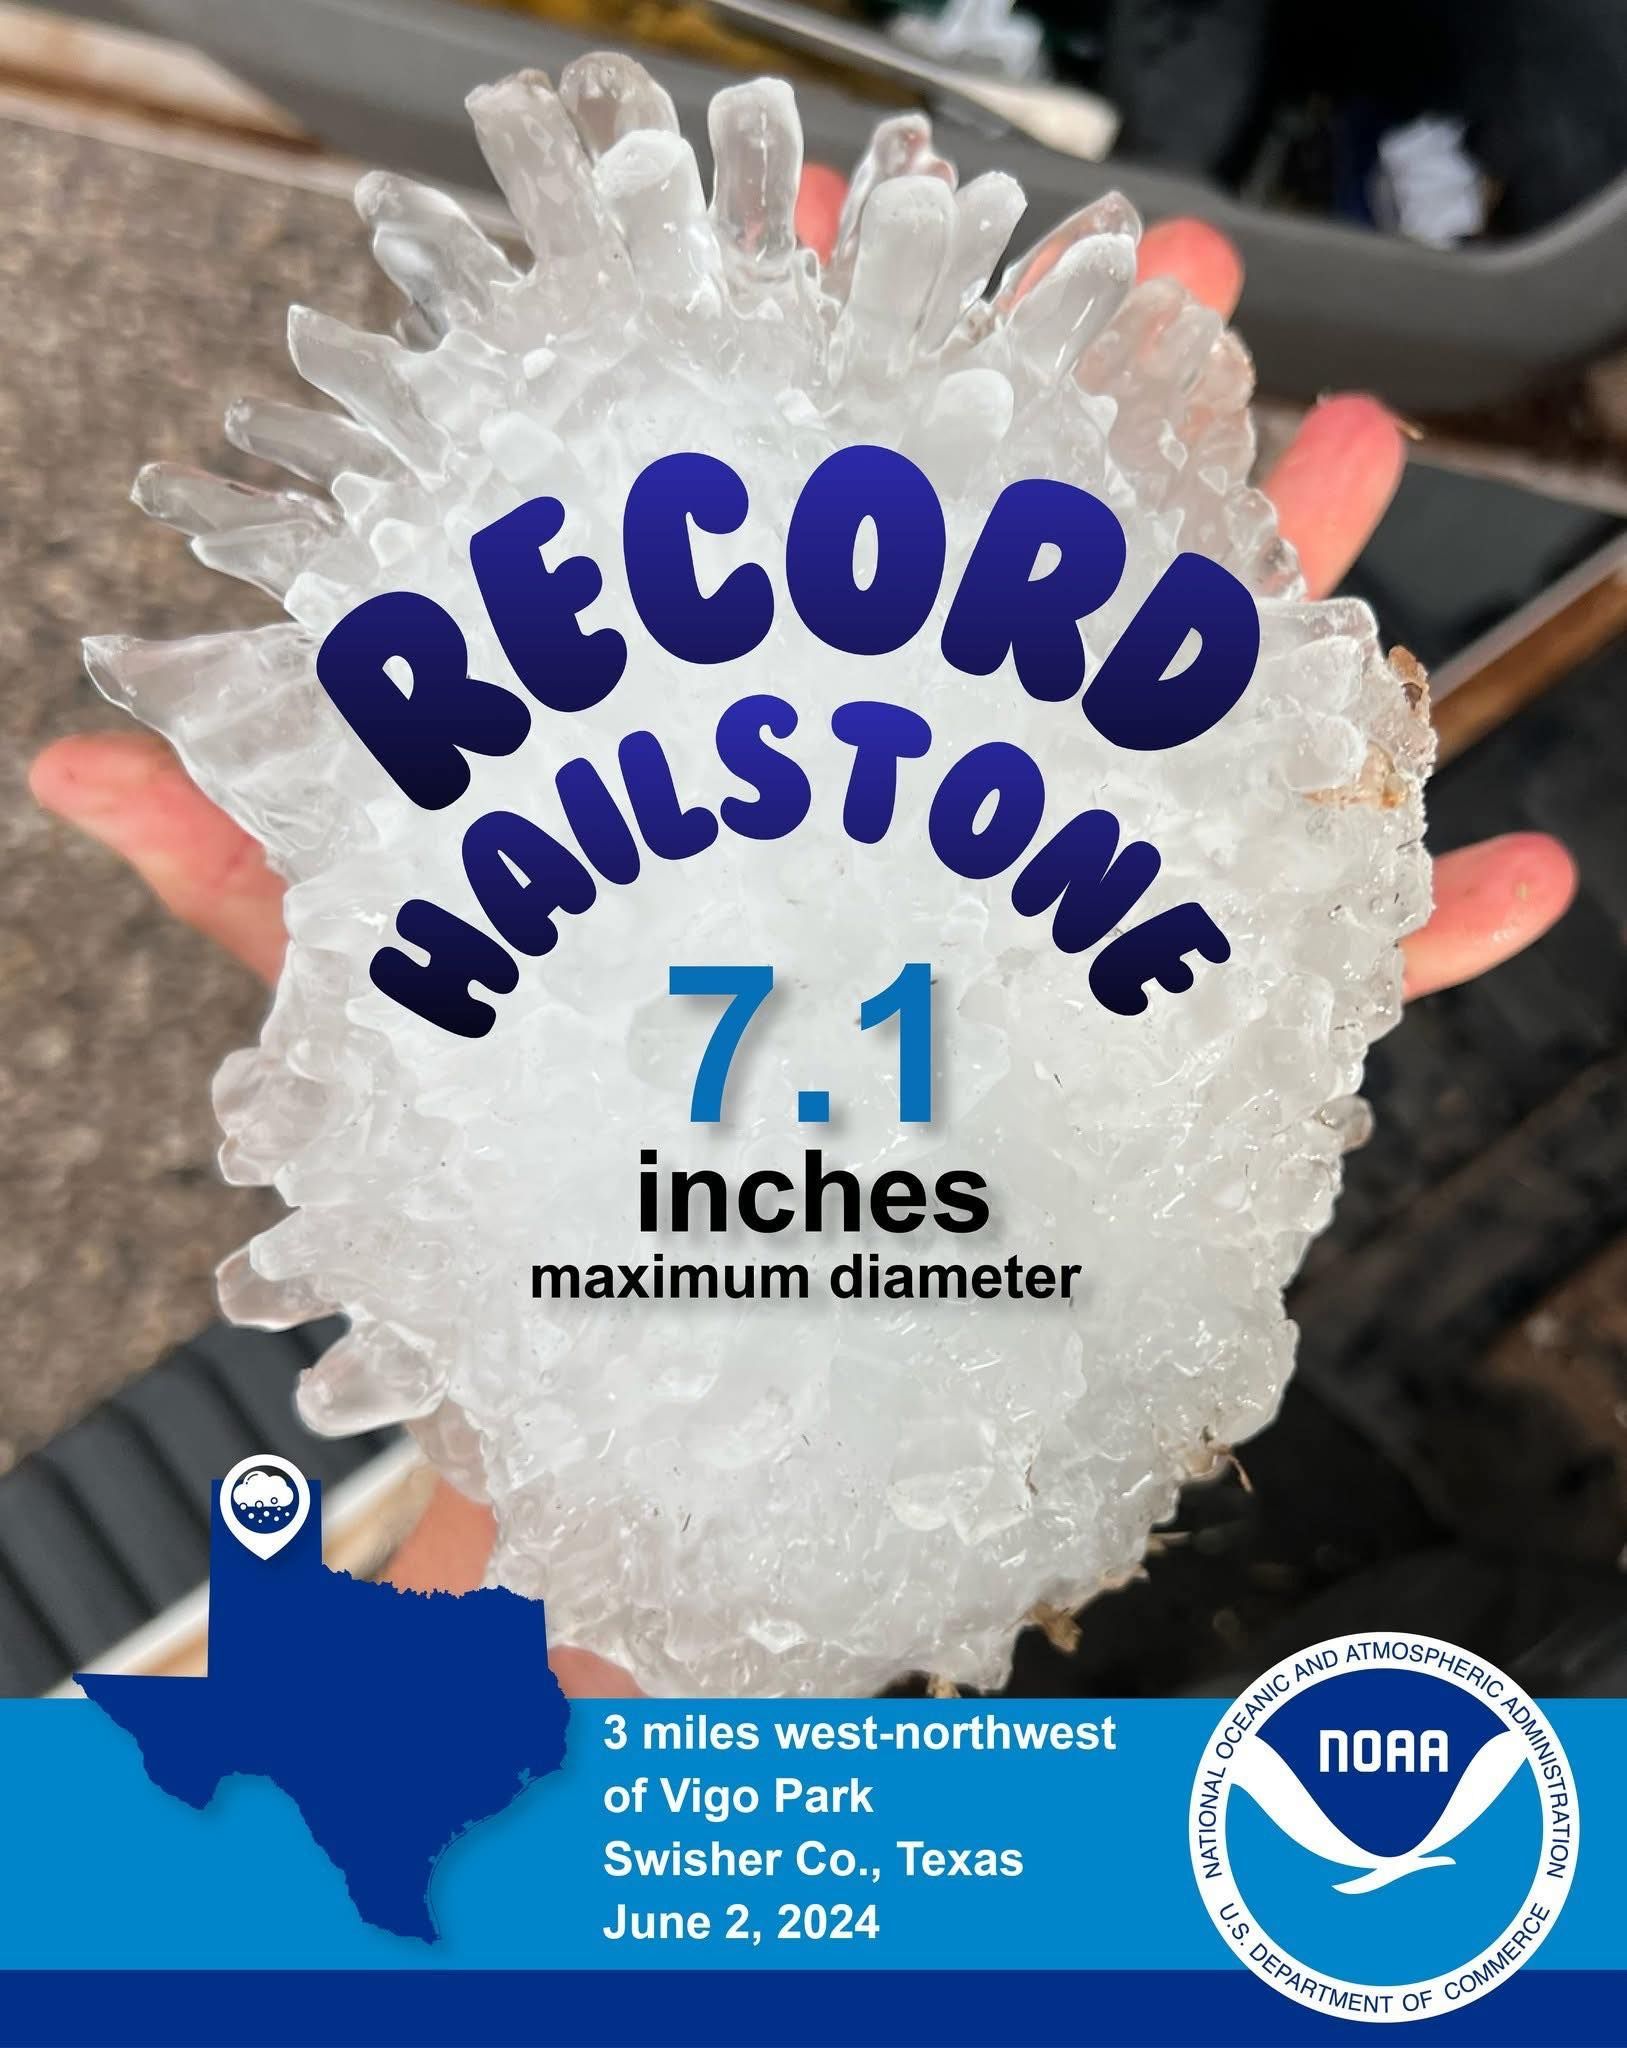
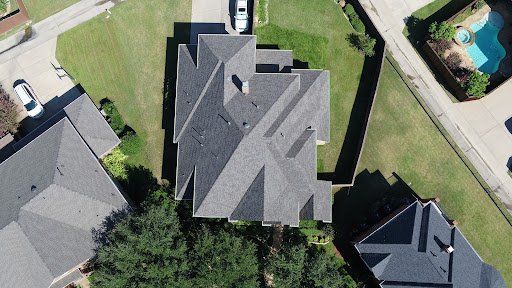
Identifying and Addressing Hail Damage
Hail damage can be a significant concern for Worth homeowners. It can cause severe damage to roofs, leading to leaks and other issues. Identifying and addressing hail damage promptly is essential to prevent further damage and ensure the longevity of the roof.
After a hailstorm, it important to inspect the roof for any signs of damage. This includes checking for dents, cracks, or missing shingles. Hail damage may not be visible, so it is recommended to hire a professional roofer to perform thorough inspection.
Depending on the severity of the hail damage, roof replacement or may be necessary. In some cases, roof coatings can be used to address minor damage and provide an added layer of protection. It is important to consult with a professional roofer to determine the best course of action based on the specific circumstances of the hail damage.
Visual Signs of Hail Damage on Coated Roofs
Hail damage can cause significant issues for roofs, including those that have been coated. Visual signs of hail damage on coated roofs may include:
- Dents or depressions: Hail impacts can leave visible dents or depressions on the surface of the roof coating. These dents may be more noticeable on coated roofs due to the contrast between the coating and the underlying material.
- Cracks or fractures: Hail impacts can also cause cracks or fractures in the roof coating, which may be visible upon inspection. These cracks can compromise the effectiveness of the coating and lead to further damage if not addressed.
- Missing or displaced coating: In severe cases, hail impacts can cause the coating to be completely displaced or torn off from the roof surface. This can expose the underlying roof material to further damage and increase the risk of leaks.
If any of these visual signs of hail damage are observed on a coated roof, it is important to consult with a professional roofer for a thorough inspection and necessary repairs or replacement.
How to Protect Your Roof from Future Hail Impact
Protecting your roof from future hail impact is crucial to prevent damage and the need for costly repairs. Here are some protective measures you can take:
- Choose impact-resistant roofing materials: Opt for roofing materials that are specifically designed to withstand hail impact, such as impact-resistant shingles or metal roofing. These materials are more durable and less likely to be damaged by hail.
- Install protective barriers: Consider installing protective barriers, such as hail guards or screens, over vulnerable areas of the roof, such as skylights or vents. These barriers can help absorb the impact of hail and prevent direct damage to the roof surface.
- Maintain your roof regularly: Regular roof maintenance, including inspections and repairs, can help identify and address potential issues before they become major problems. Regular maintenance can also ensure that your roof is in good condition and better able to withstand hail impact.
By taking these protective measures, you can significantly reduce the risk of hail damage and prolong the lifespan of your roof.
The Role of Moisture in Roof Coating Applications
Moisture management is a crucial aspect of roof coating applications. Proper moisture control is essential to ensure the effectiveness and longevity of the coating.
Excess moisture can compromise the adhesion and performance of the coating, leading to issues such as bubbling, peeling, or mold growth. It is important to address any existing moisture issues, such as leaks or inadequate waterproofing, before applying a roof coating.
Proper moisture management includes thorough roof inspection and repairs, ensuring proper drainage, and addressing any underlying structural issues that may contribute to moisture buildup. It is also important to choose a coating that offers excellent waterproofing properties to further protect against moisture-related issues.
By effectively managing moisture during the roof coating application process, you can ensure the best possible results and maximize the coating's effectiveness in protecting your roof.
Assessing Your Roof for Moisture Issues
Assessing your roof for moisture issues is crucial to identify and address potential problems before applying a roof coating. Here are some steps to consider:
- Inspect the roof for signs of water damage, such as stains, discoloration, or mold growth. These signs may indicate existing moisture issues that need to be addressed before coating.
- Check the roof for any visible leaks or areas of excessive moisture. This may include areas where water pools or where moisture is trapped beneath the roof surface. These areas should be properly repaired and waterproofed before coating.
- Evaluate the roof's drainage system to ensure proper water flow and prevent standing water. Improper drainage can lead to moisture buildup and damage to the roof structure.
- Consider performing a moisture scan, such as a thermal imaging inspection, to detect any hidden moisture issues beneath the roof surface. This can help identify areas of concern that may not be visible during a visual inspection.
By thoroughly assessing your roof for moisture issues, you can address any existing problems and ensure a proper foundation for the roof coating application.
Solutions for Moisture-Ridden Roofs Before Coating
Dealing with moisture-ridden roofs is crucial before applying a roof coating. Here are some solutions to consider:
- Identify and repair any existing leaks or areas of excessive moisture. This may involve replacing damaged roofing materials, improving flashing or sealant, or addressing any underlying structural issues.
- Improve the roof's waterproofing system to prevent future moisture issues. This may include adding additional waterproofing membranes, improving drainage systems, or installing proper ventilation to reduce condensation.
- Ensure proper insulation to prevent moisture buildup. Proper insulation can help regulate temperature and reduce the risk of condensation, which can lead to moisture-related issues.
- Consider using moisture-resistant roof coatings or primers. These products are specifically designed to provide added protection against moisture and can help mitigate the risk of moisture-related issues.
By implementing these solutions, you can effectively address moisture issues and create a suitable foundation for the roof coating application, ensuring its long-term effectiveness.
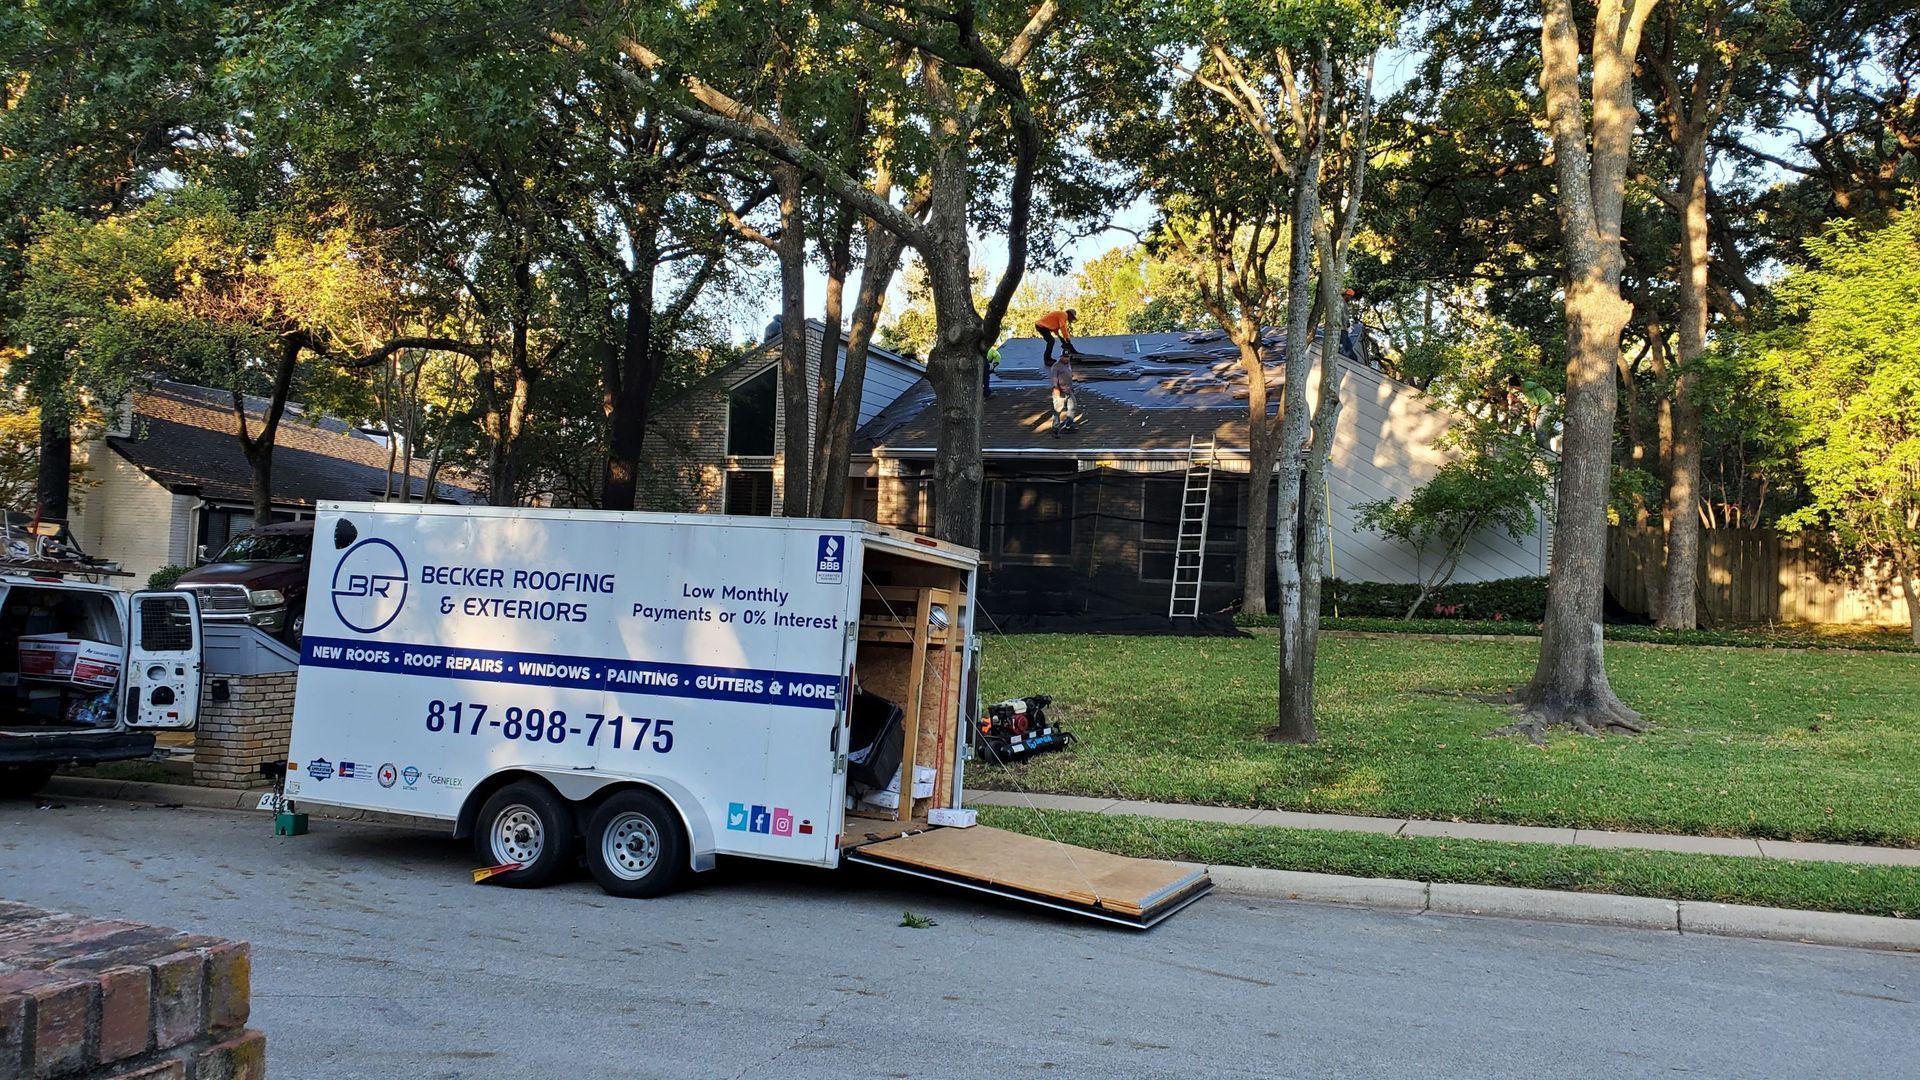
Choosing a Professional for Your Roofing Needs
When selecting a professional for your roofing needs in Fort Worth, it's essential to consider factors such as expertise, customer reviews, and warranties offered. Look for local roofing companies with experience in various roofing materials like asphalt, silicone, and metal roofs. Ensure the contractor is knowledgeable about Fort Worth's extreme weather conditions to provide lasting solutions. Check for certifications and insurance for peace of mind. Expert installation is crucial for the longevity of your roof, so choose a reputable roofer carefully.
Qualities to Look for in a Roofing Contractor
When selecting a roofing contractor, there are several qualities to look for to ensure a great job. Firstly, consider their experience and expertise in the industry. A reputable roofer will have a proven track record and positive customer reviews. Additionally, it is important to choose a roofer who is licensed, insured, and bonded to protect yourself and your property. Good communication skills are also important, as you want to work with someone who can effectively communicate and address any concerns or questions you may have. Finally, consider the overall reputation of the roofing company, as this can give you an indication of their professionalism and ability to deliver quality work.
Why Expert Installation Matters for Longevity
Regardless of whether you choose roof replacement or coating options, expert installation is crucial for the longevity of your roof. A properly installed roof will have fewer issues and require less maintenance over time. It will also have a longer lifespan, ultimately saving you money in the long run. Expert installation ensures that all components of your roof are installed correctly, including flashing, vents, and gutters. It also ensures that the roof is properly sealed and protected from water damage. By investing in expert installation, you can have peace of mind knowing that your roof will last for years to come.
Conclusion
In the realm of roofing decisions, whether to opt for a replacement or coatings in Fort Worth, various factors play a crucial role. Understanding the lifespan, costs, warranties, and how weather elements like hail and moisture impact your roofing choice is pivotal. Assessing hail damage, moisture issues, and choosing a reputable roofing contractor ensure longevity and effectiveness. By making informed decisions and maintaining your roof properly, you can safeguard your property against the unpredictable Fort Worth weather, ensuring durable and cost-effective solutions for the long haul.
Frequently Asked Questions
Can I Apply a Coating to an Older Roof to Extend Its Life?
Yes, applying a coating to an older roof can extend its life. Roof coatings provide an extra layer of protection against the elements and can help seal small cracks and seams in the roof. This can prevent further damage and extend the lifespan of the roof. However, it is important to note that coatings should only be applied to roofs that are in relatively good condition. If your older roof has significant damage or is in need of major repairs, it may be more cost-effective to consider a full roof replacement.
What Is the Most Cost-Effective Roofing Solution in the Long Run?
The most cost-effective roofing solution in the long run depends on various factors, including the size of the roof, the type of roofing material chosen, and energy bills. While roof replacement may have a higher upfront cost, it can provide a longer lifespan and potentially lower energy bills. On the other hand, roof coatings can be a more affordable option initially but may require more frequent reapplication. A cost analysis should be performed to determine the best option for your specific needs and budget.
How Do Roof Coatings React to Extreme Weather Conditions?
Roof coatings are designed to withstand extreme weather conditions, including Fort Worth's hot summers and occasional severe storms. They provide an additional layer of protection for your roof, enhancing its durability and resistance to wind, rain, and UV rays. Roof coatings can help extend the life of your roof and provide peace of mind during extreme weather events.
Can a Coated Roof Be Repaired or Re-coated in the Future?
Yes, a coated roof can be repaired or re-coated in the future. If there are any damages or issues with the coating, it can be repaired to ensure its effectiveness. Additionally, if the coating has reached the end of its lifespan, it can be re-coated to provide continued protection for your roof. Regular maintenance and inspections are recommended to identify any potential issues and address them promptly.
How Quickly Can Moisture Damage Affect a Newly Coated Roof?
A newly coated roof with proper waterproofing can be highly resistant to moisture damage. However, the severity and timing of any moisture damage will depend on various factors, including the quality of the coating, the condition of the roof substrate, and the weather conditions. Regular inspections and maintenance can help identify and address any potential issues before they cause significant damage to the newly coated roof.